I’m not sure how smart Marlin is, and they don’t spell it out in the g-code reference, but in the reference they use the following to turn on the PWM at half power:
M3 O128
Note the 0 prefix, and the lack of the 'S; parameter. In your g-code you use:
M03 S102
It may be with the ‘S’ parameter, that Marlin is interpreting your g-code as a spindle command that has a whole other range of values defined in the configuration file.
Another thing you can try is to run part of or all of the g-code in the first post in this topic. Note how that g-code uses the ‘S’ parameter of the G0 and G1 commands. This is code that Ryan was running so you know it has been “tested.”
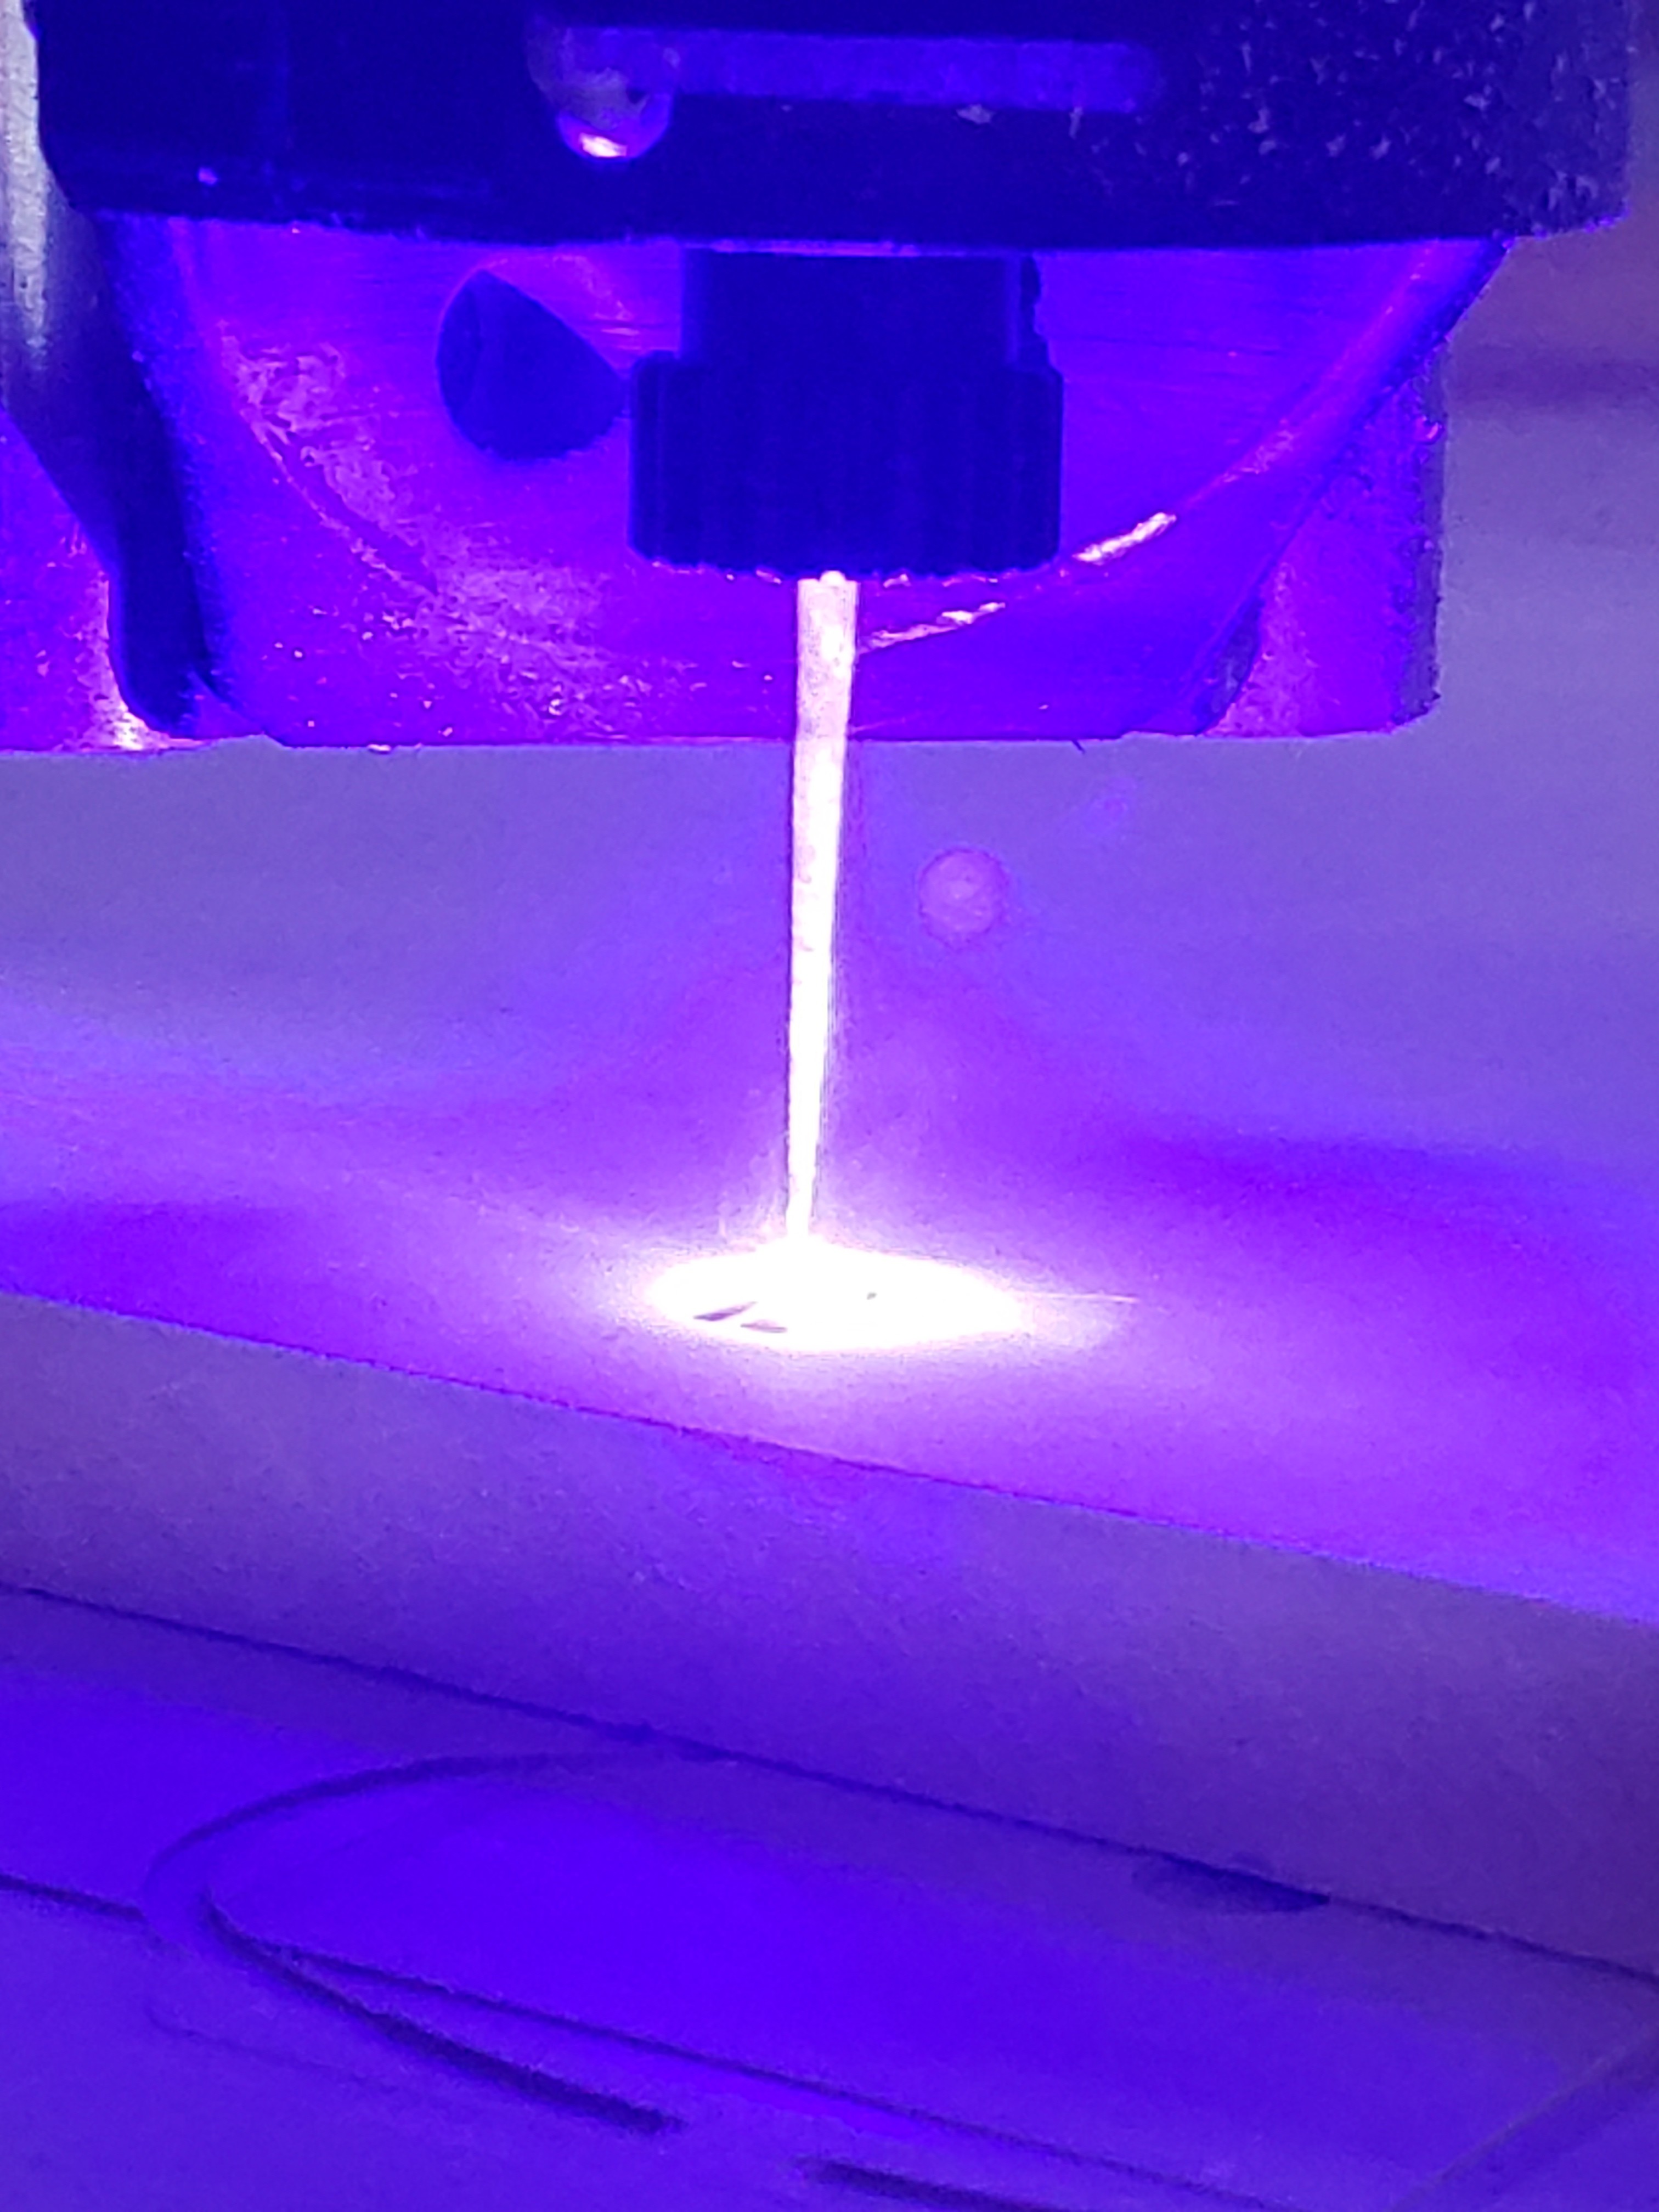
What bothers me more than the laser not coming on, is that it comes on briefly. I know there are some forum posts with a similar issue, but I don’t remember the fix.
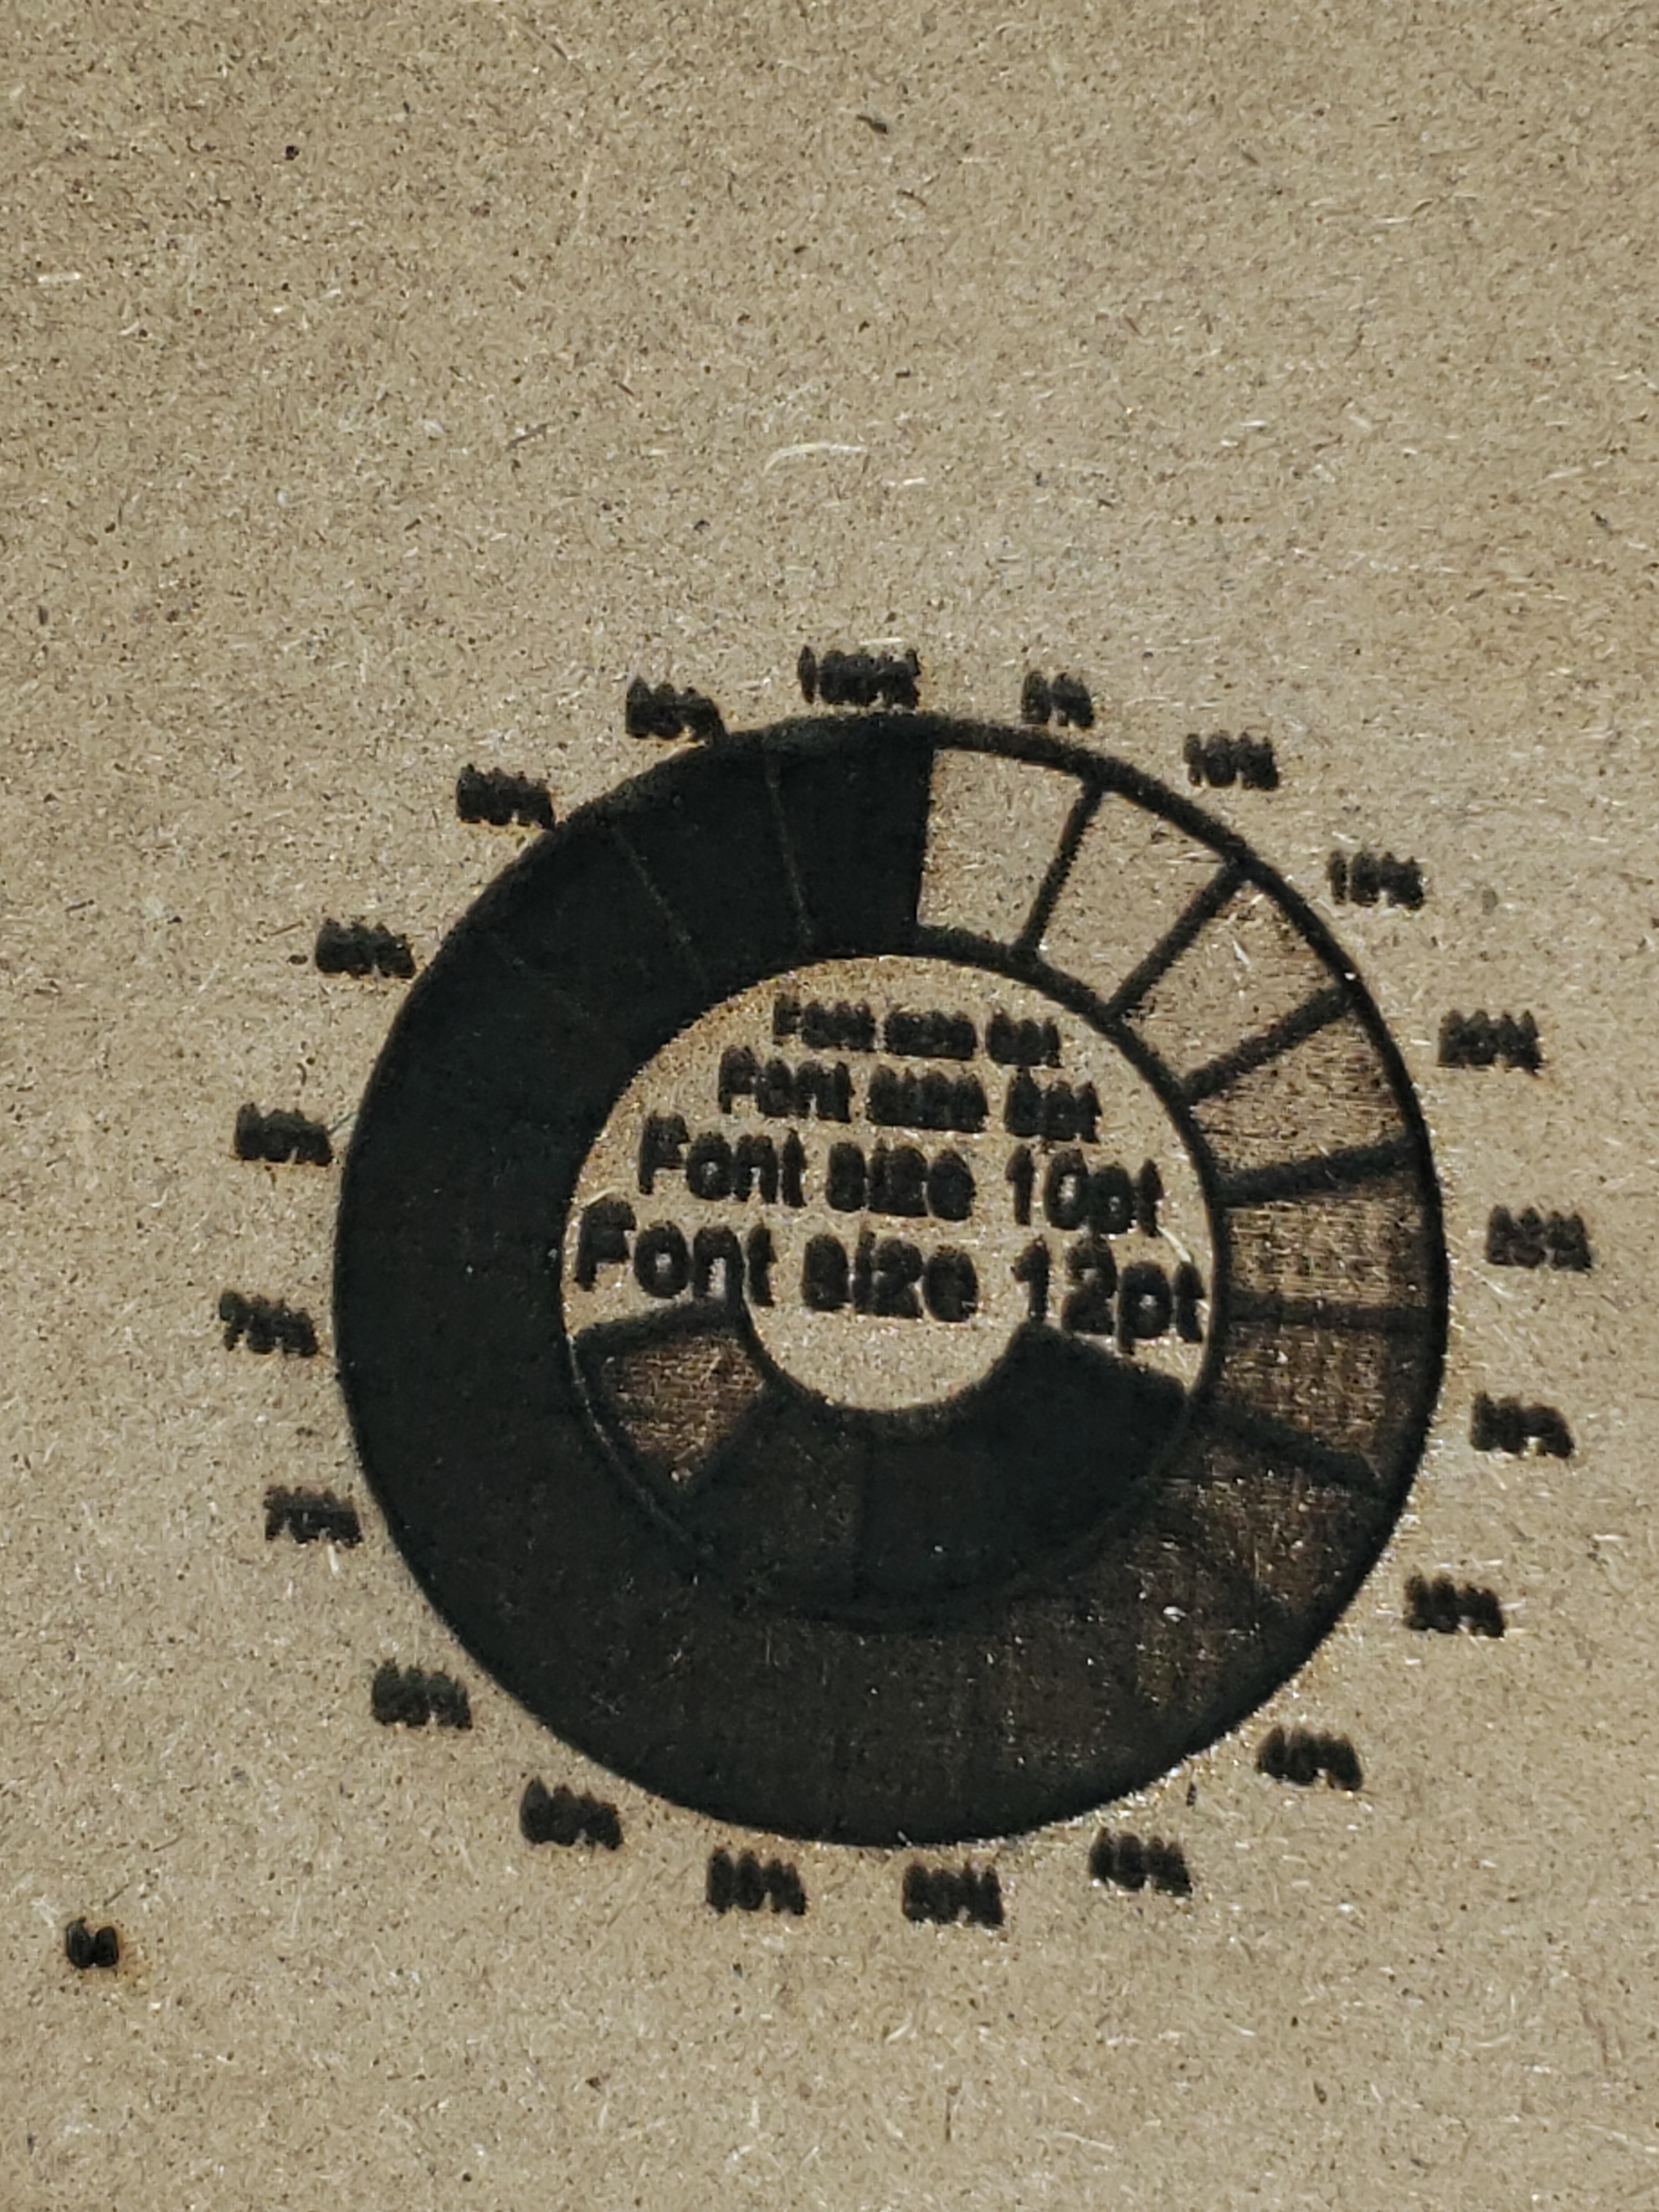
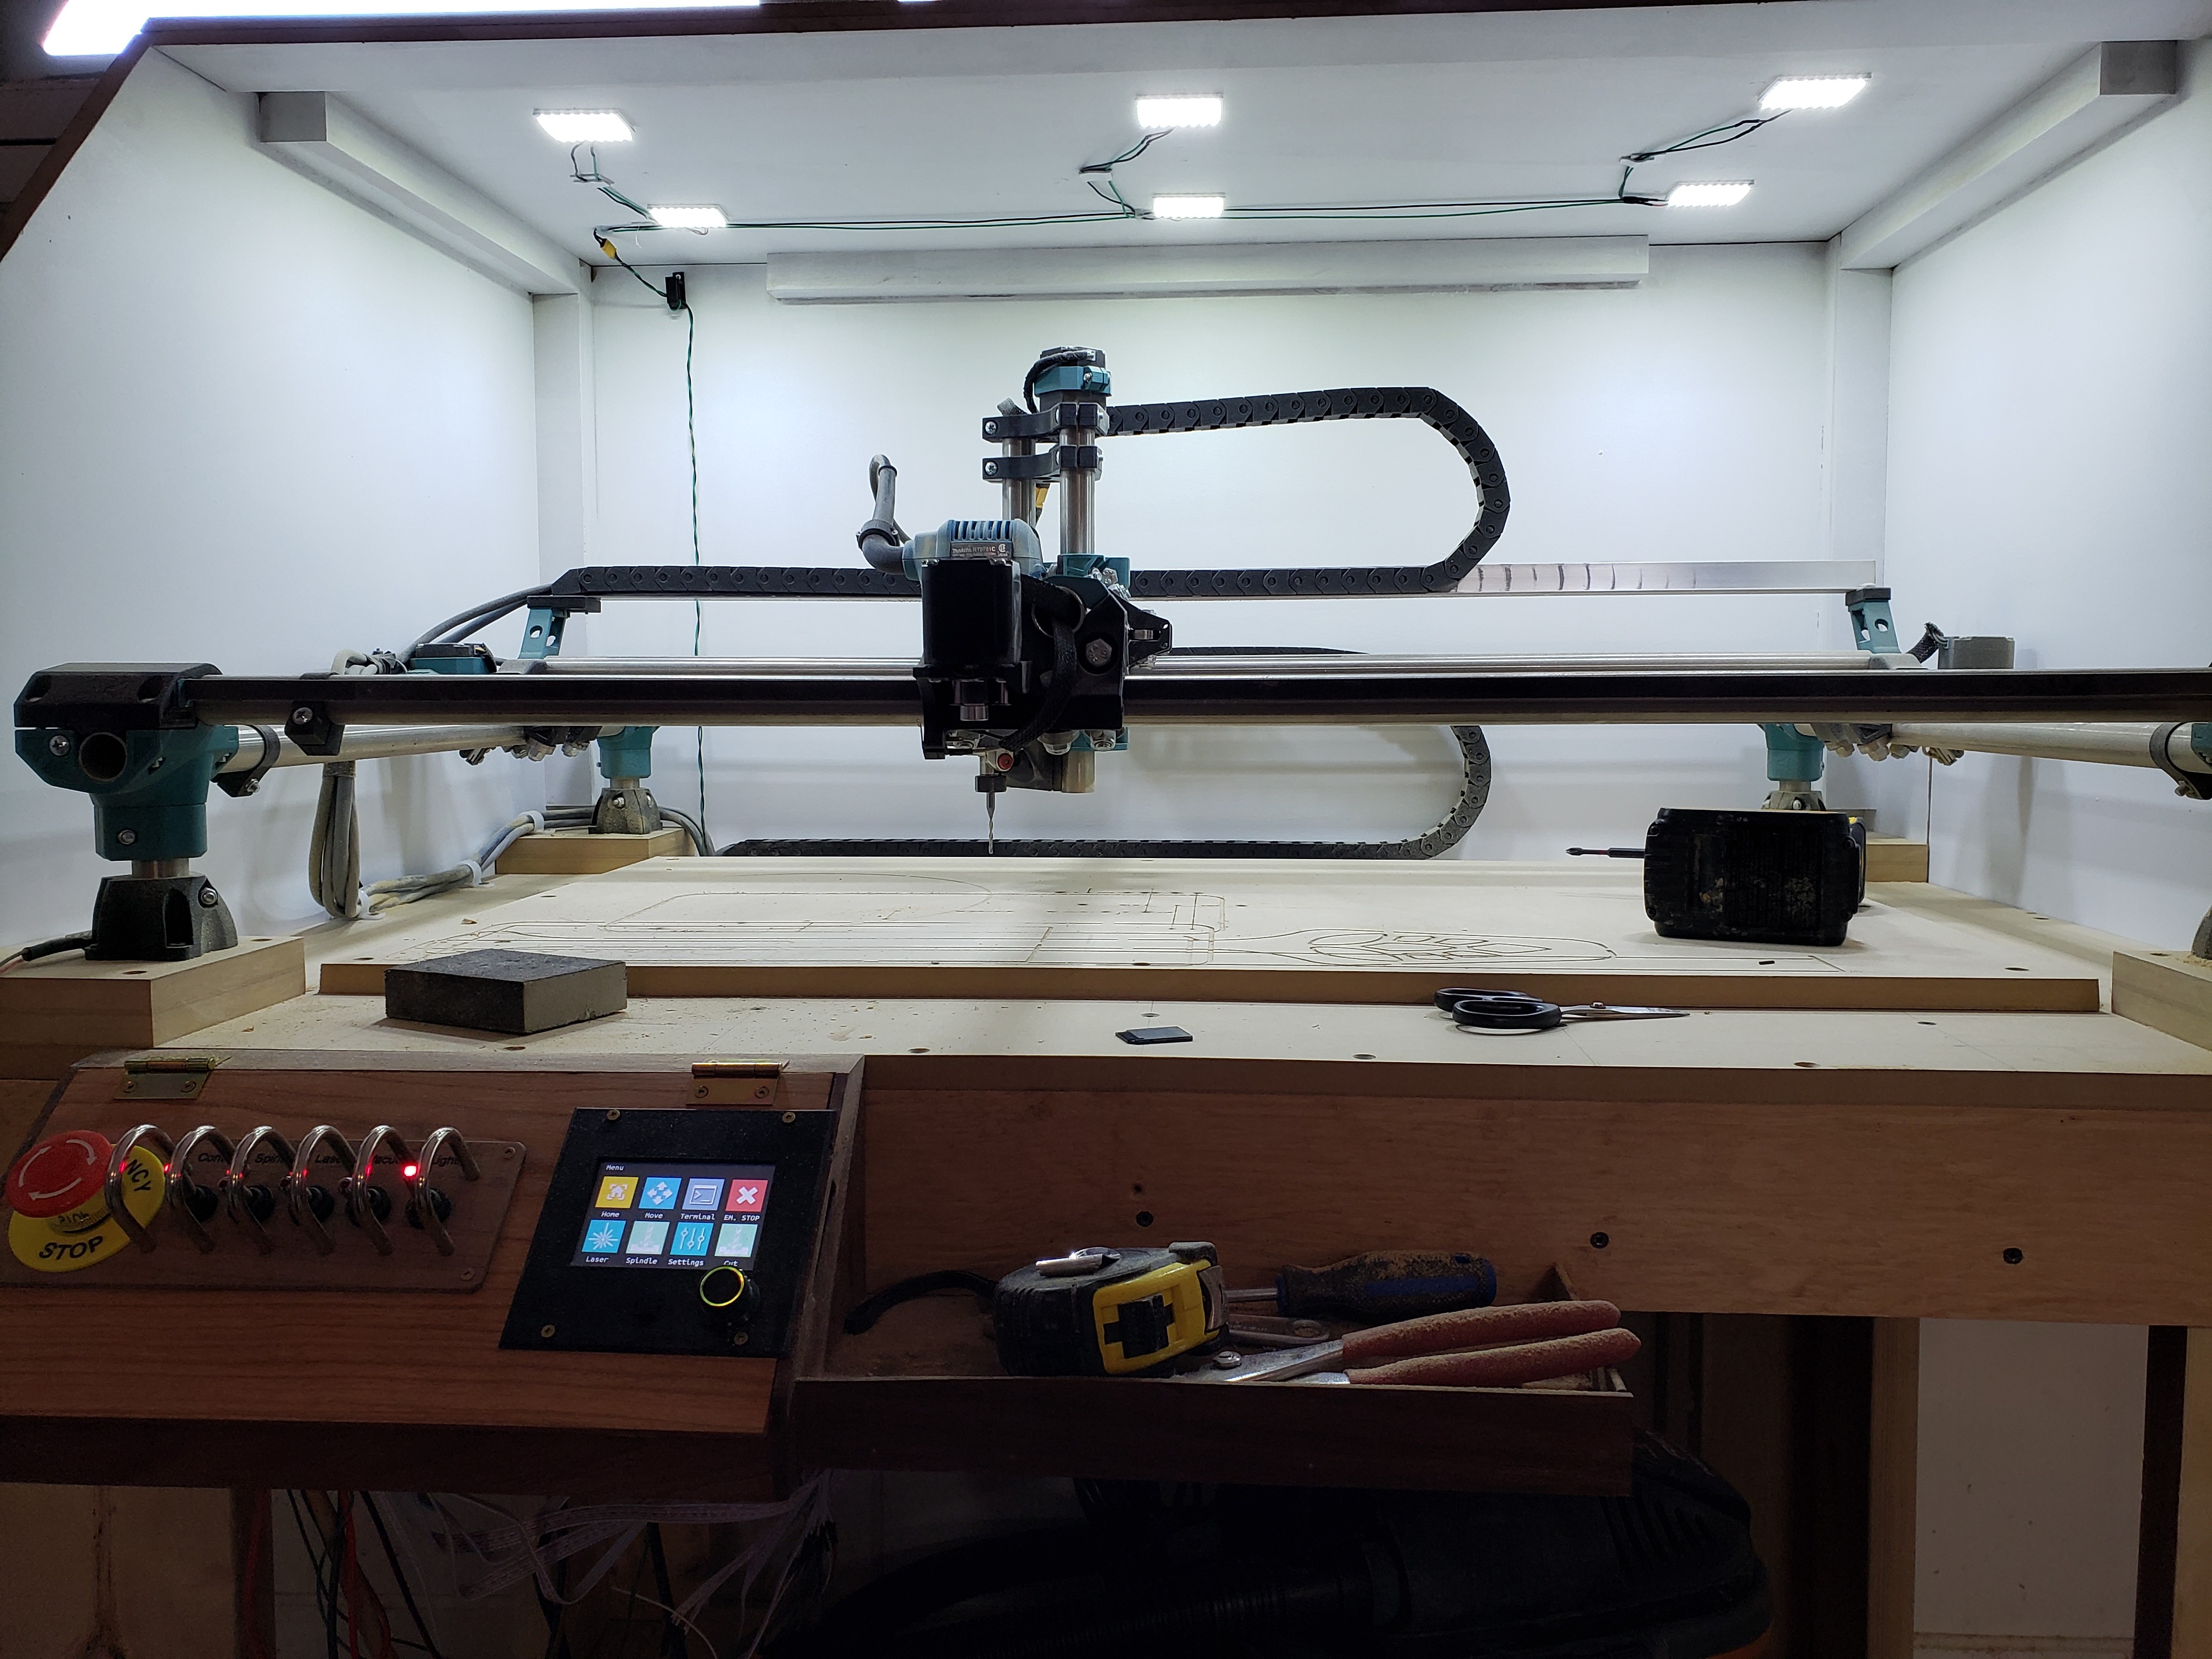
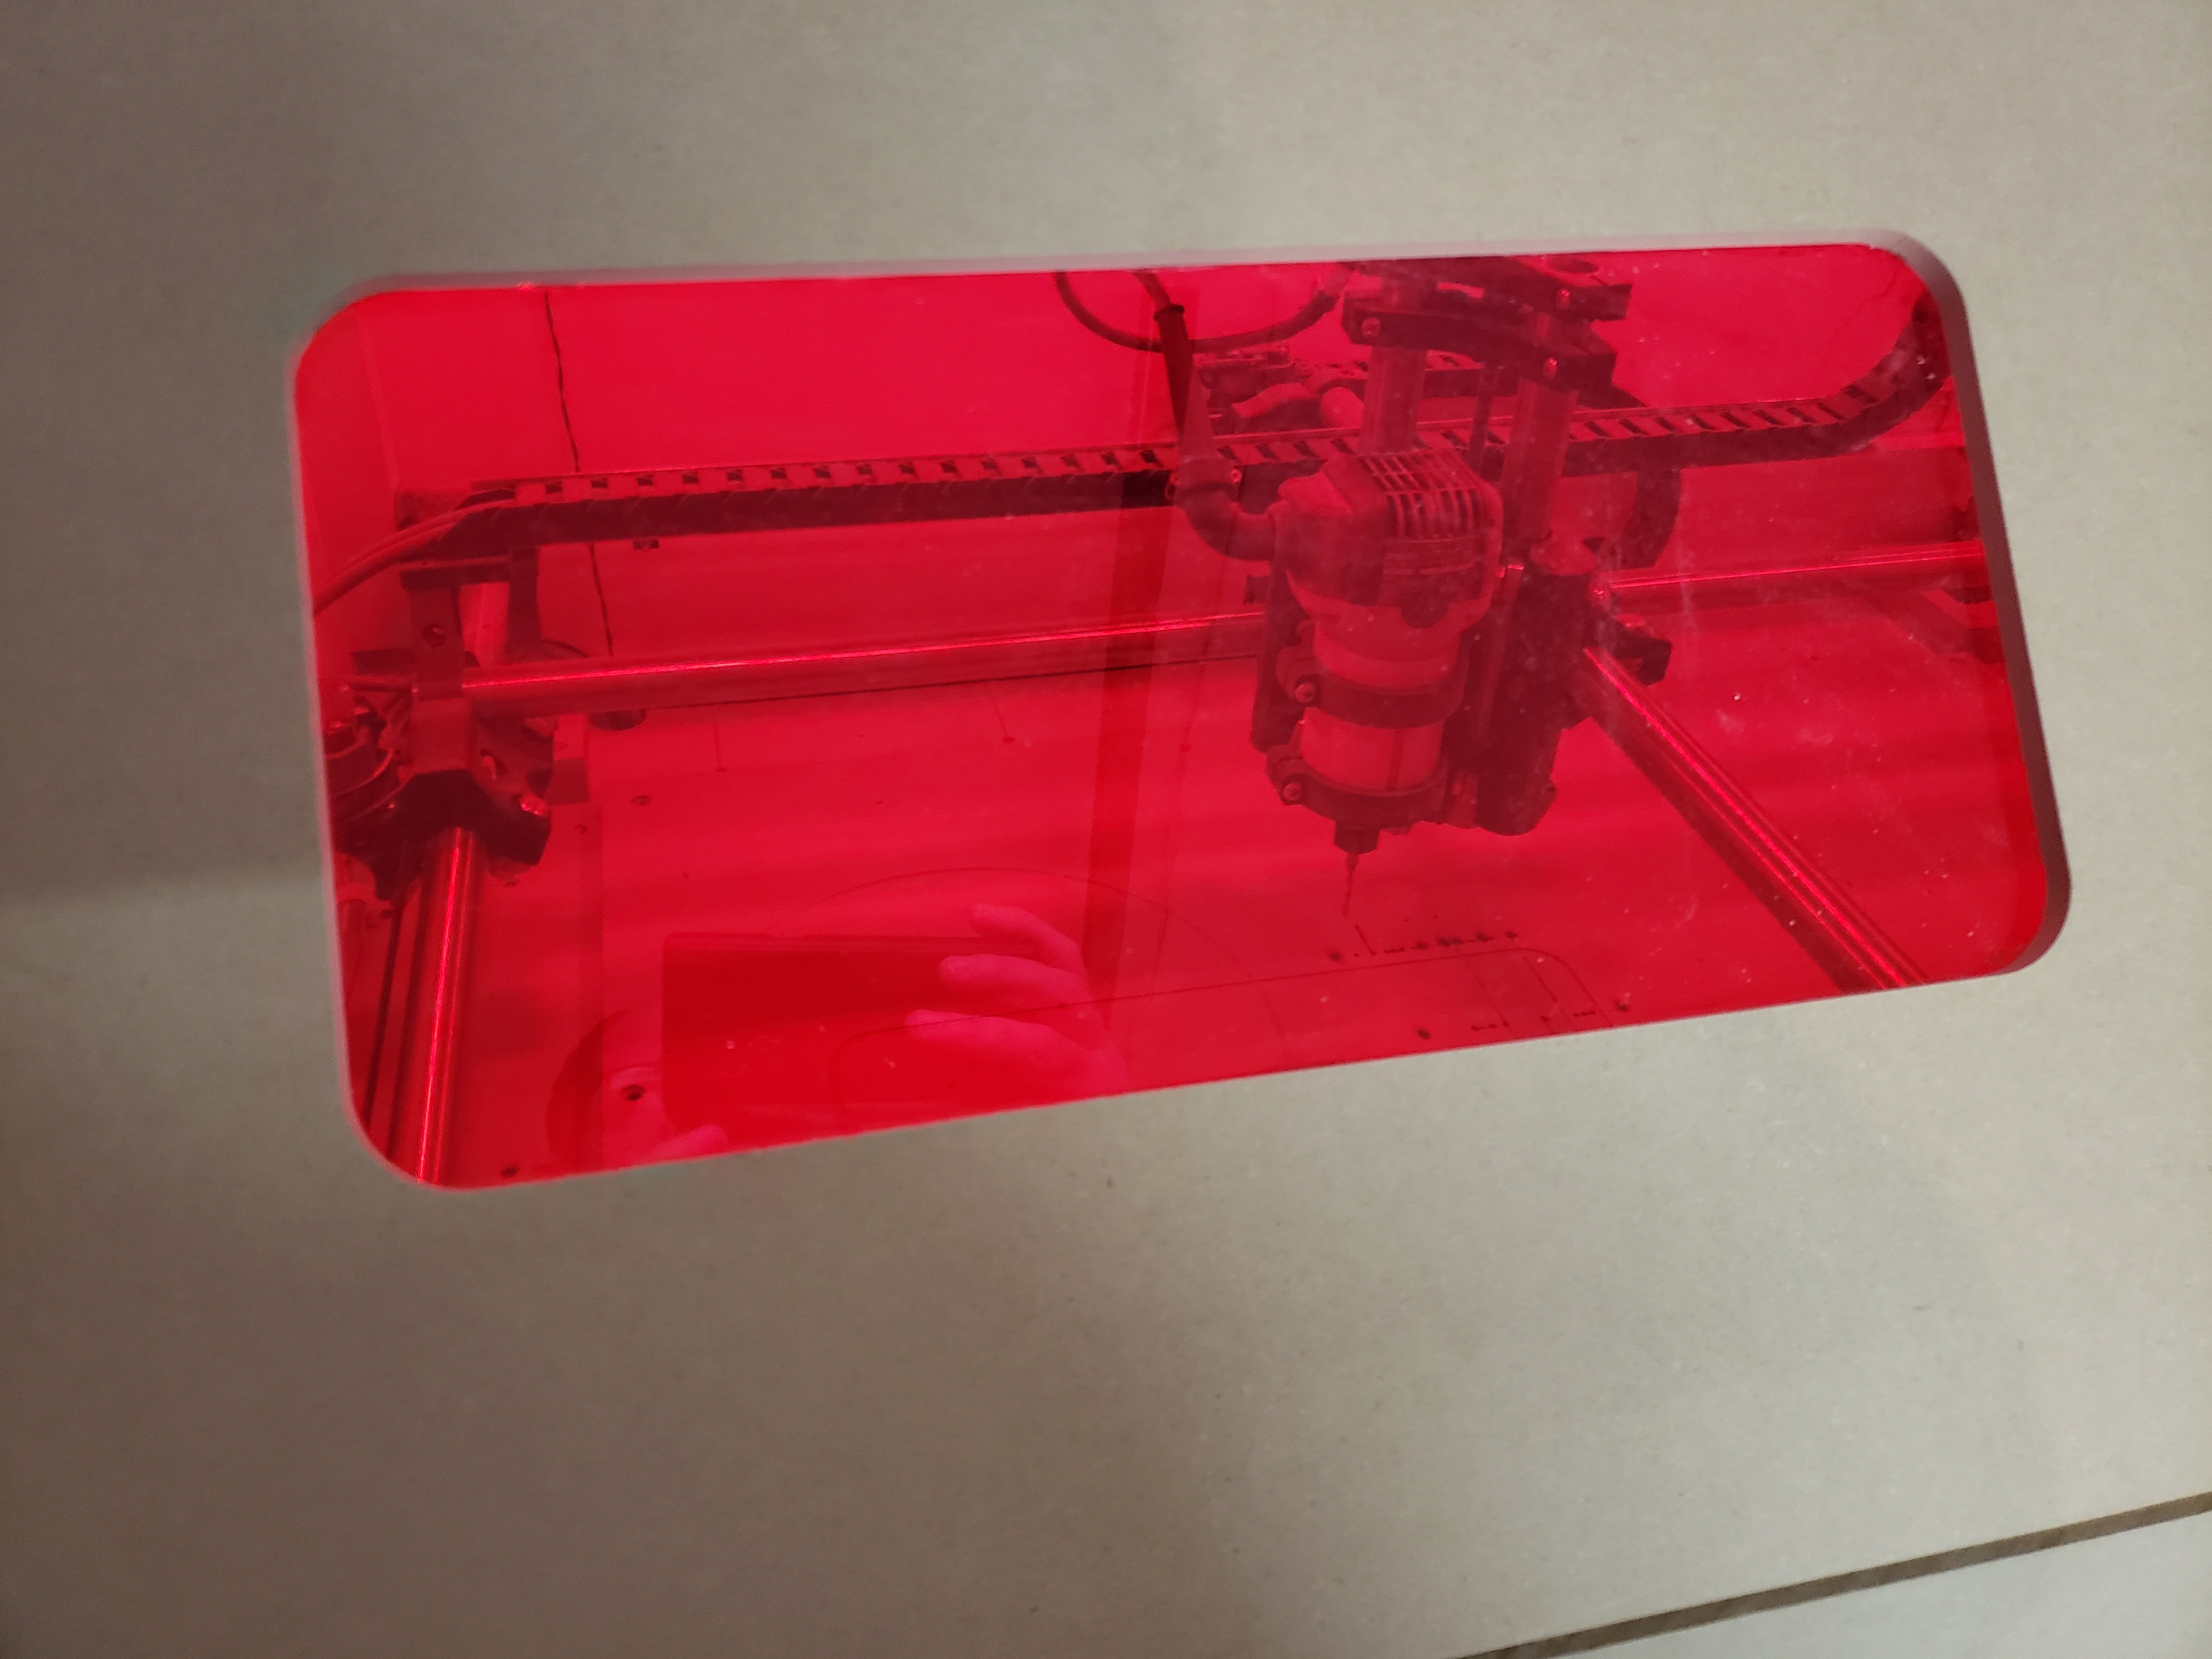
I had asked in the laser thread and Ryan just got me going. His test Gcode seemed to work just great!! my first laser etch! its a bit too dark but ill figure that out. Ryan said “Your gcode does not look correct as we use inline commands now. The move lines get an S command and a travel move stops it.”
So ill need to figure out lightburn a bit more and get the Gcode sent properly.
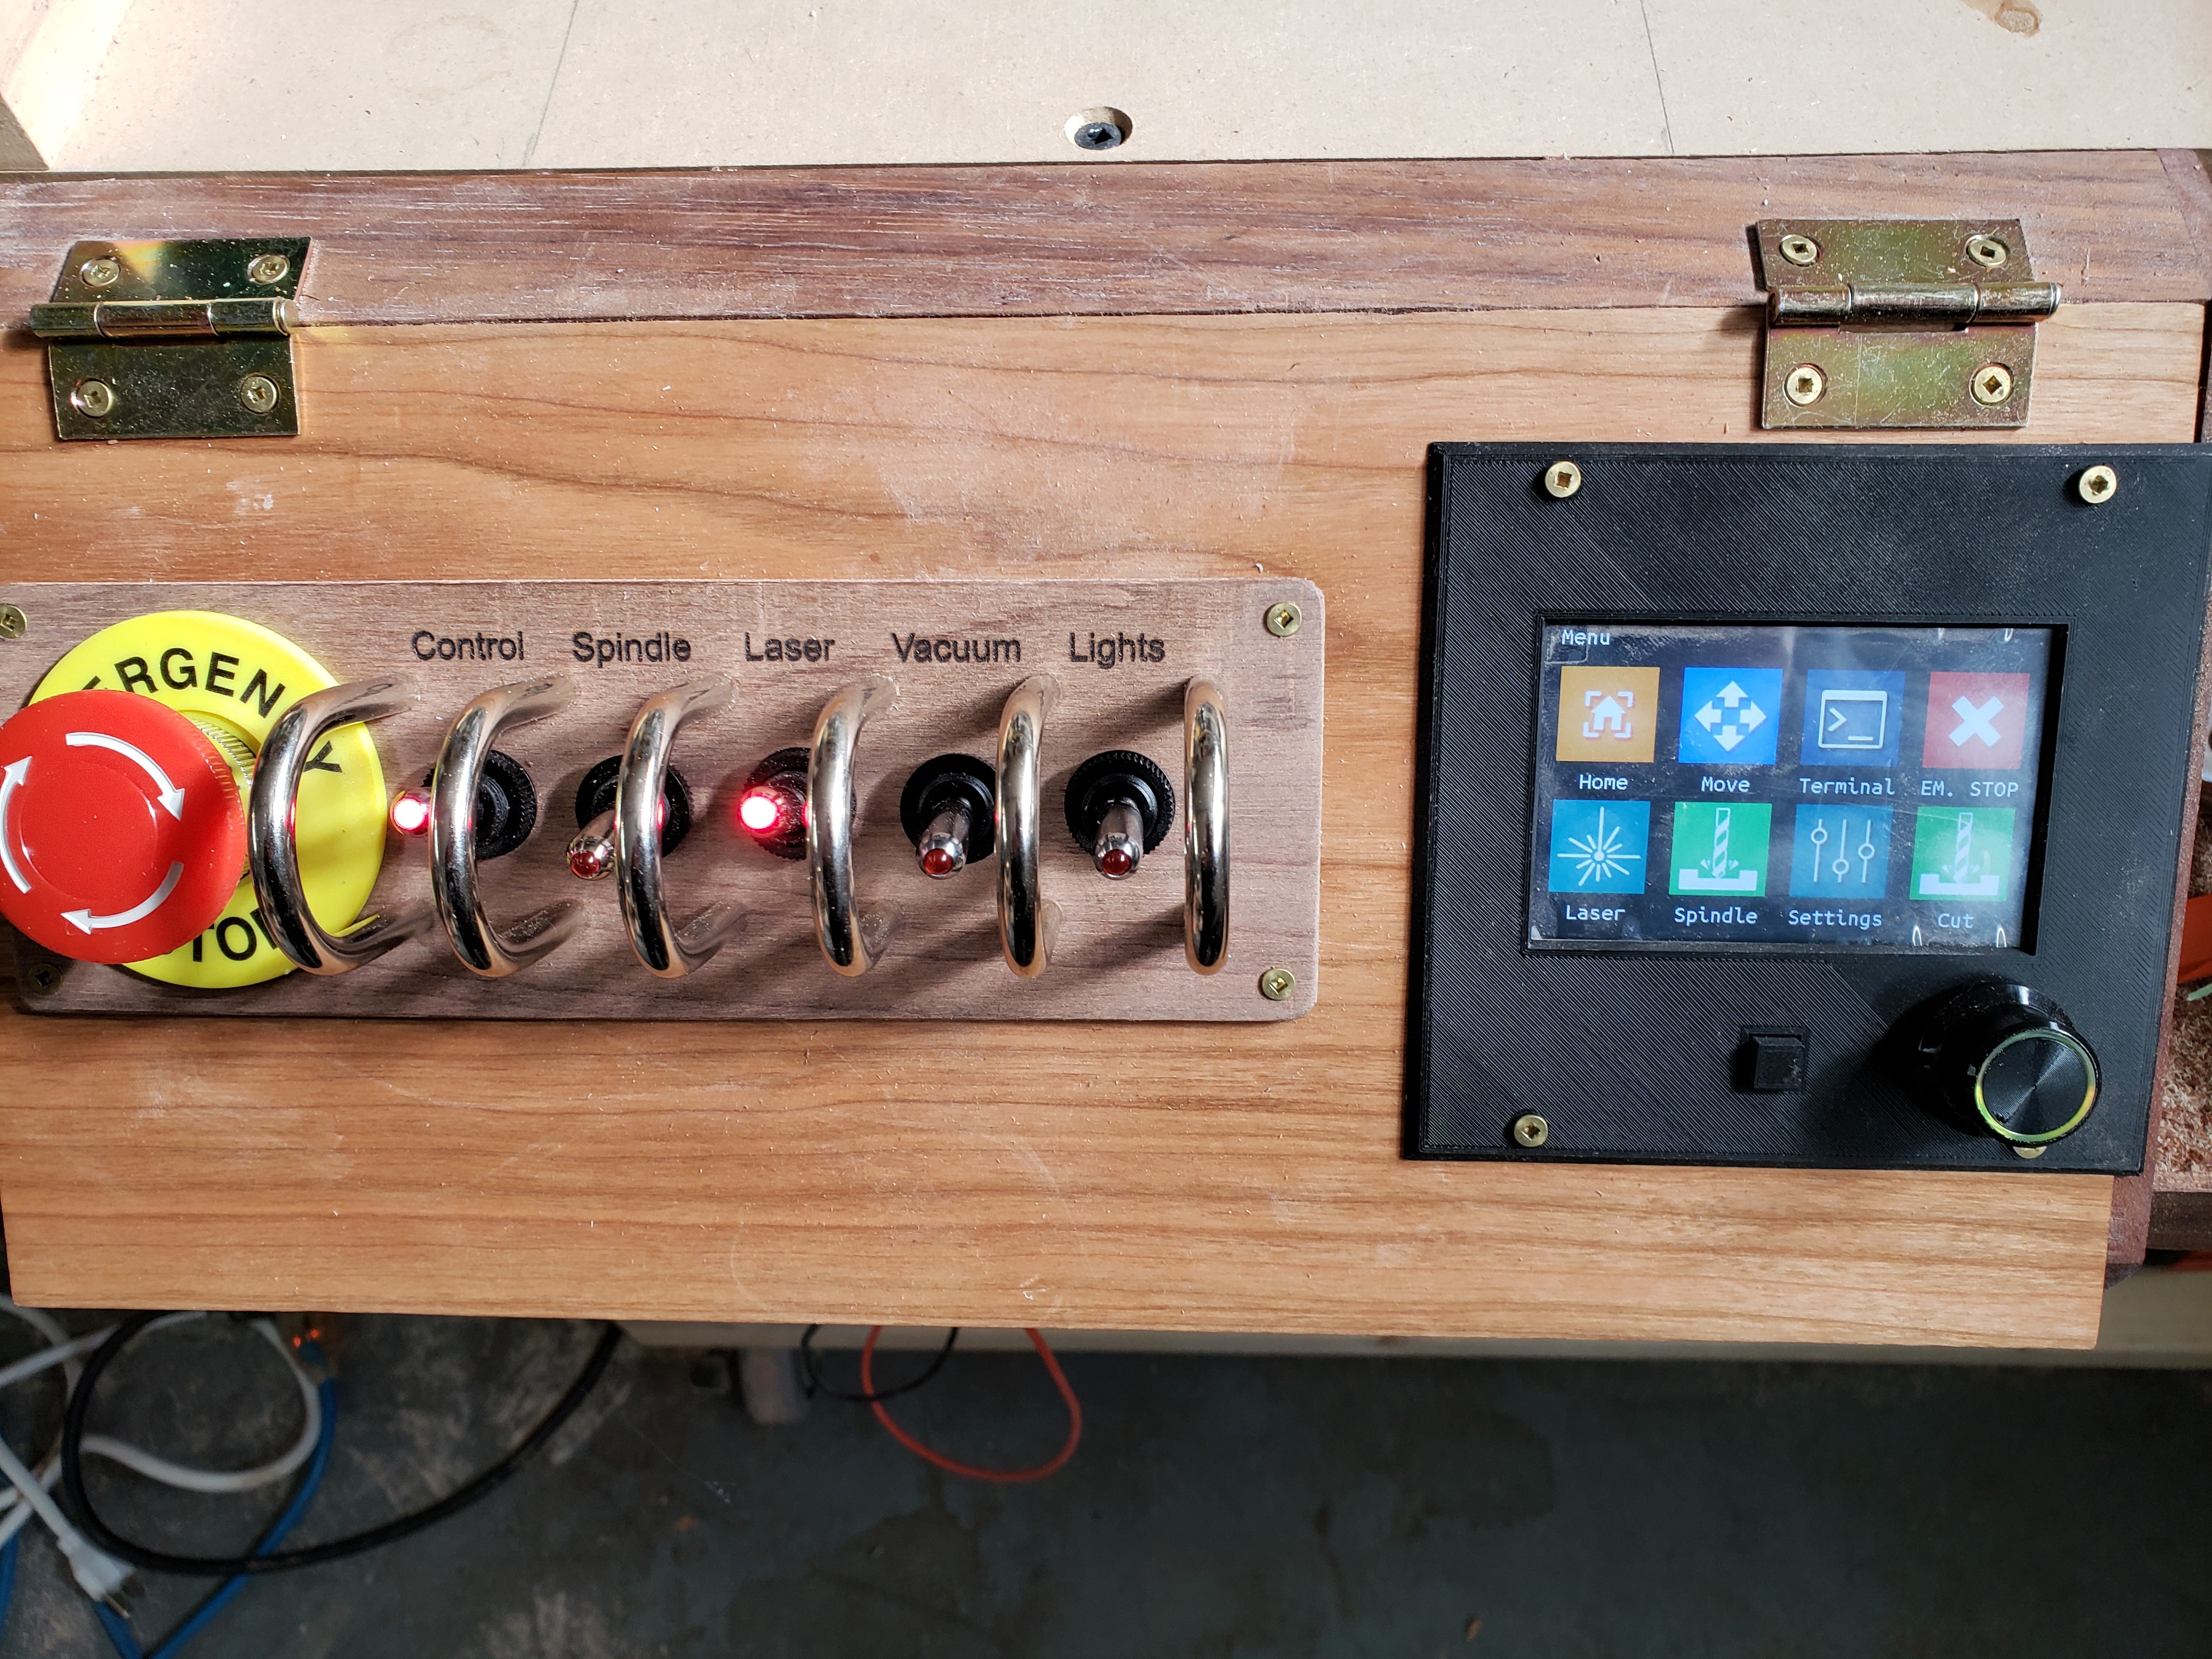
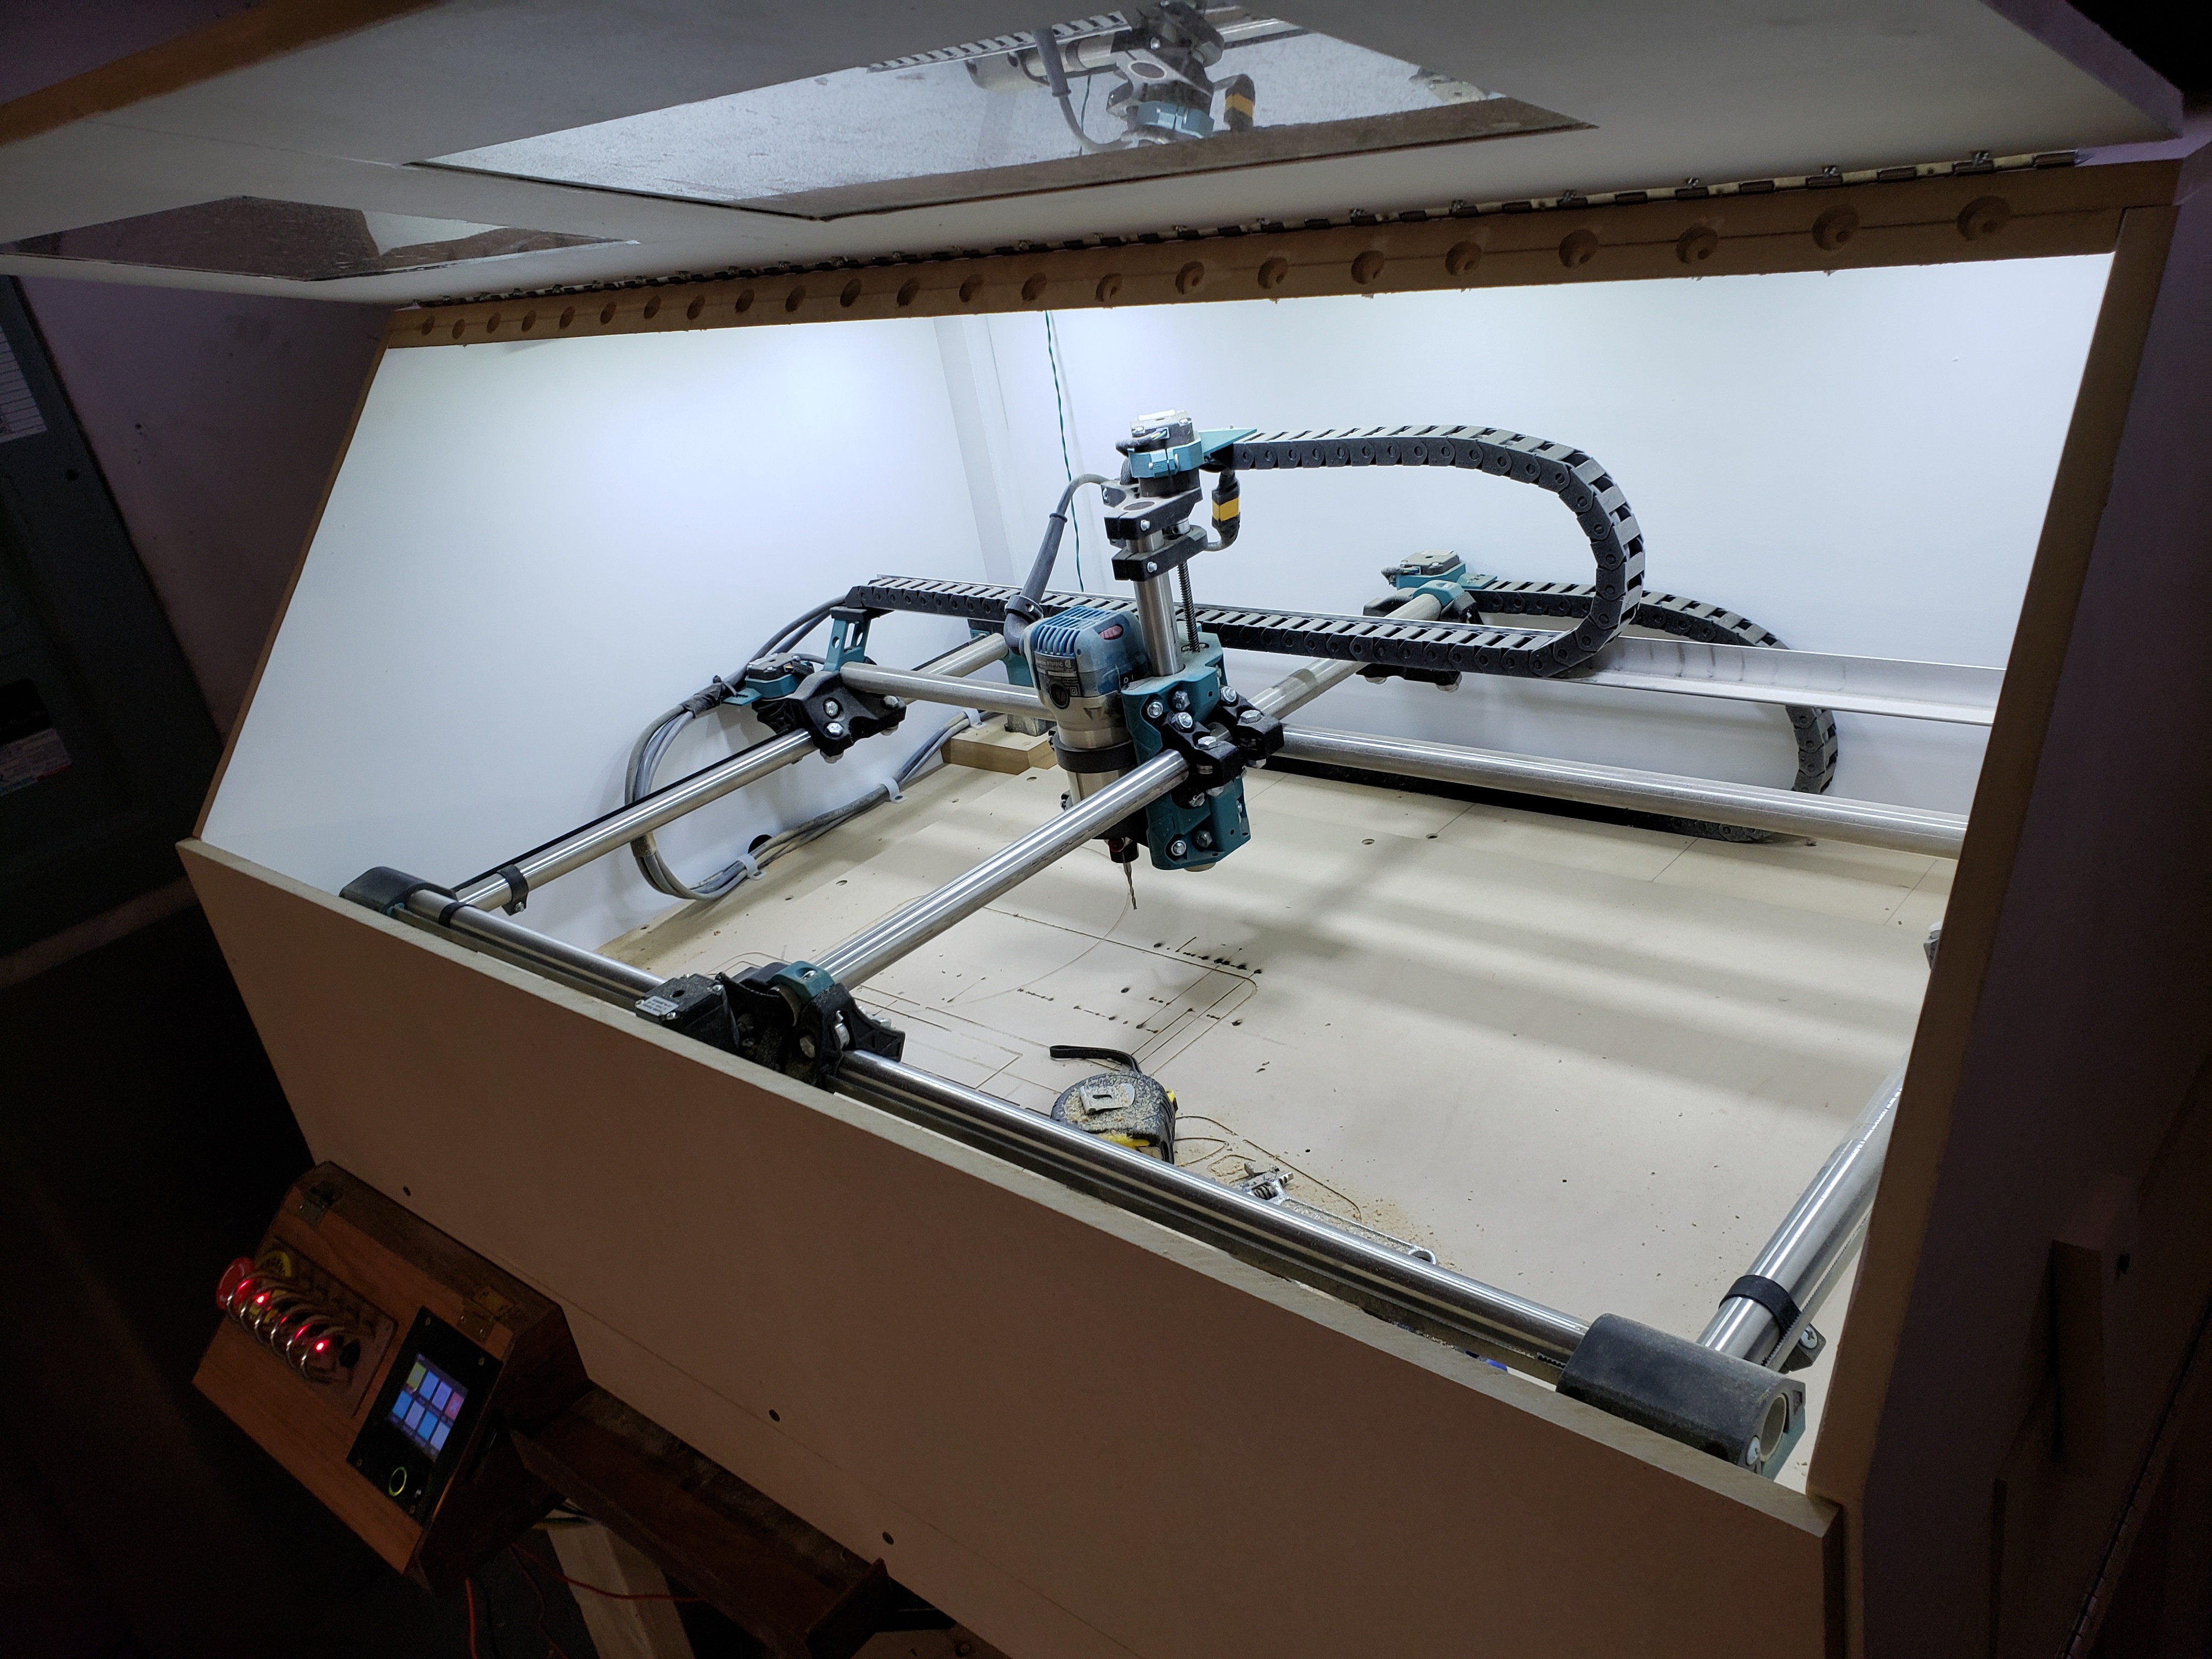
Thanks, I wired the estop directly into my main power bar. I pulled the power bar apart and just tapped into the wire before the power bar switch. So now anything plugged into that power bar will turn off when i hit the estop.
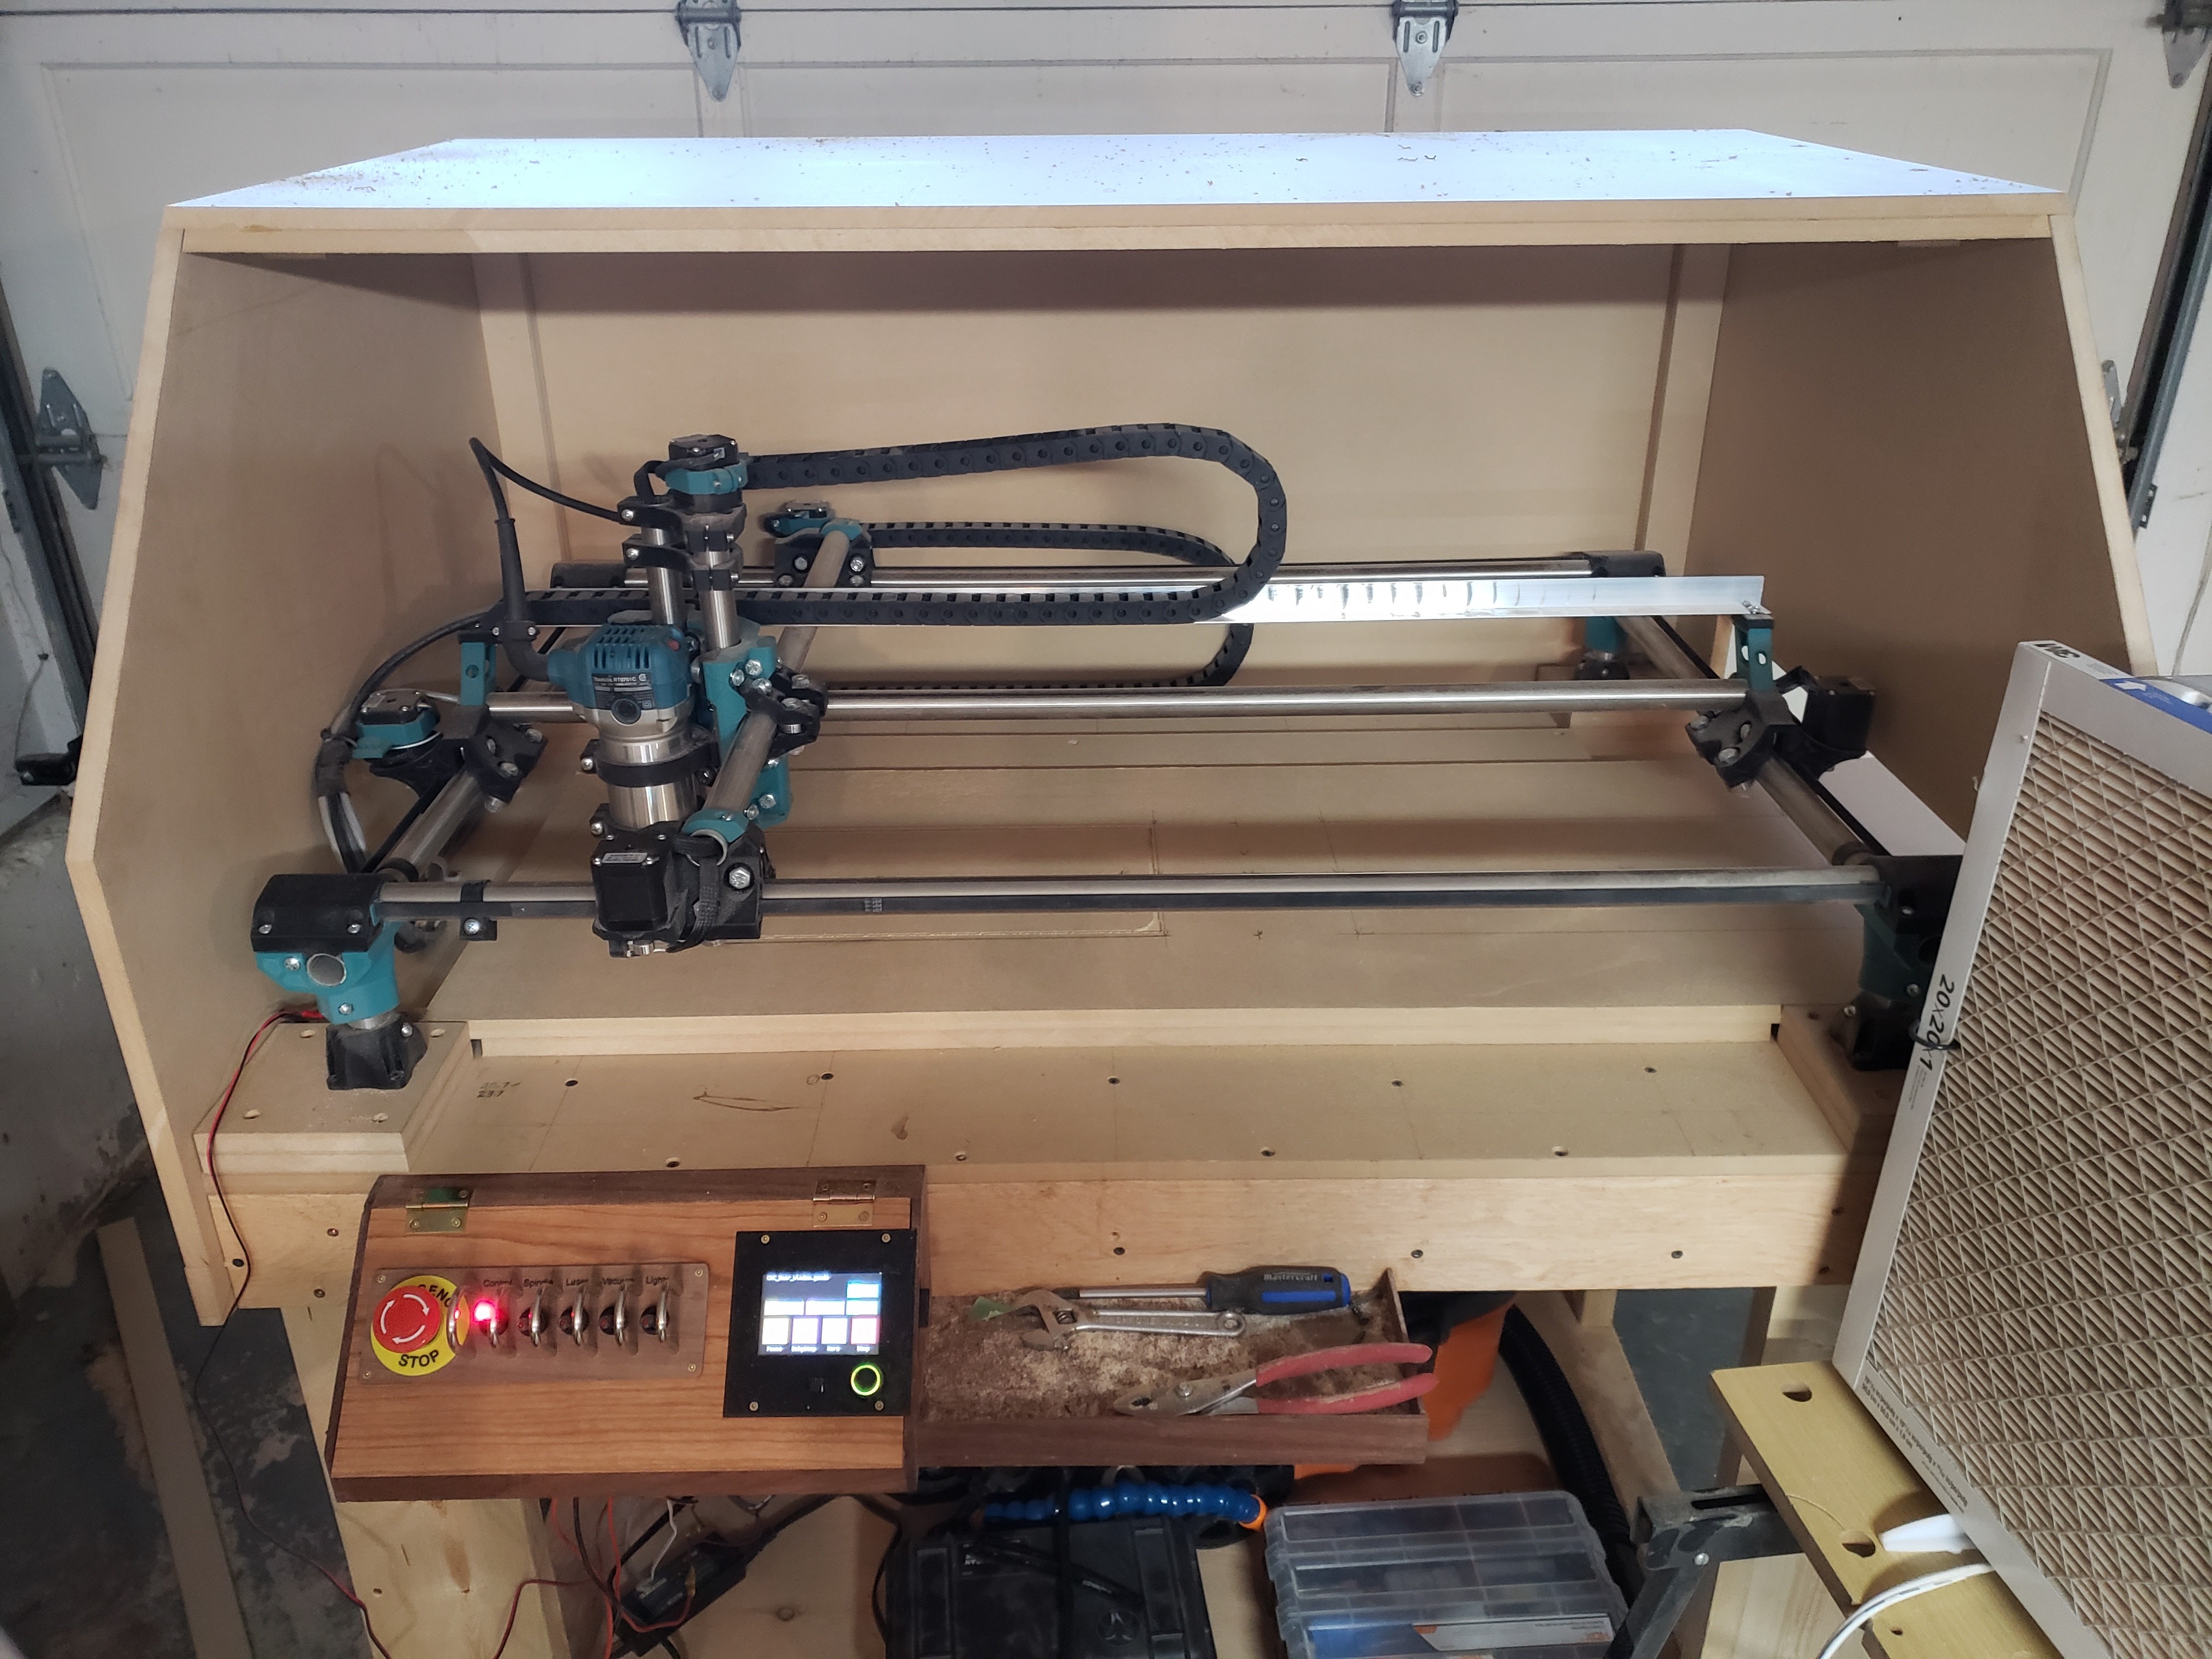
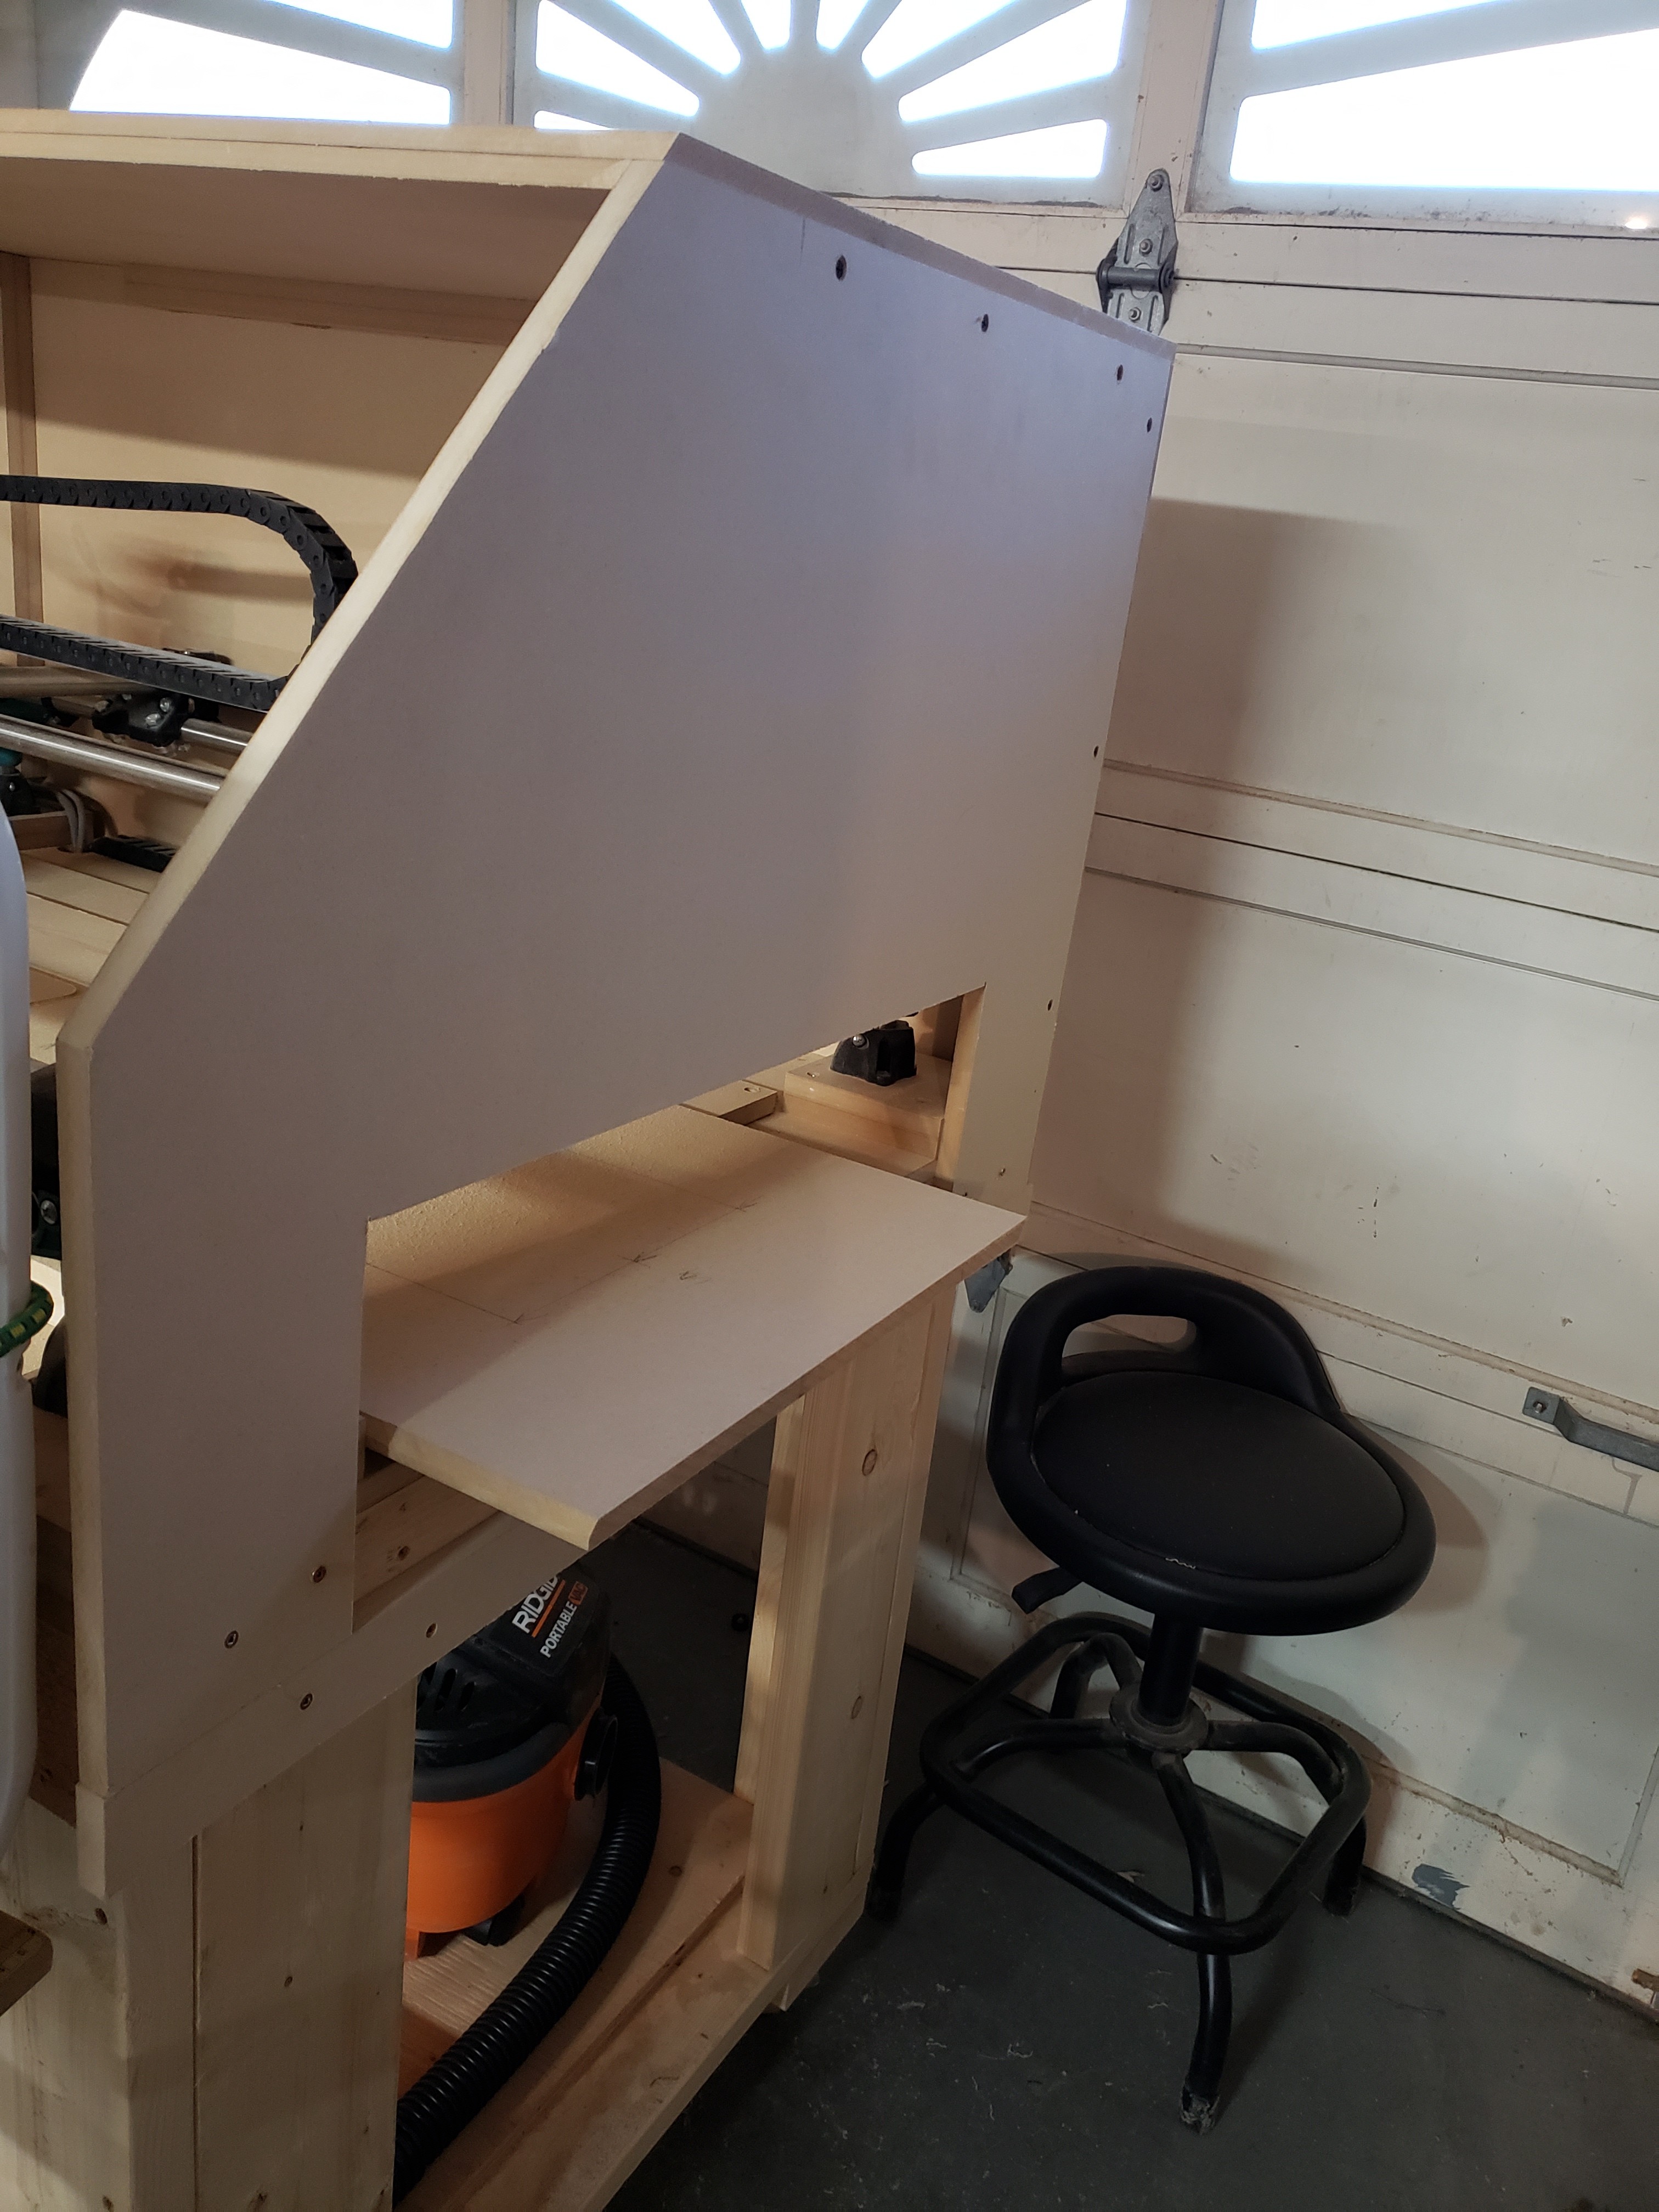
One thing I dont think i mentioned is the side door i made for the enclosure. It allows using oversized pieces and ease of putting large parts in and out.
I’m already using this door, really happy I built it in.
This looks great. I’m pretty much copying your setup for my current build, but with a table a foot larger than the CNC on the one side, and some more room around the outside.
How is the noise with that big MDF cover? At first i thought that would be overkill/heavy. But i suppose more density means more dampening.