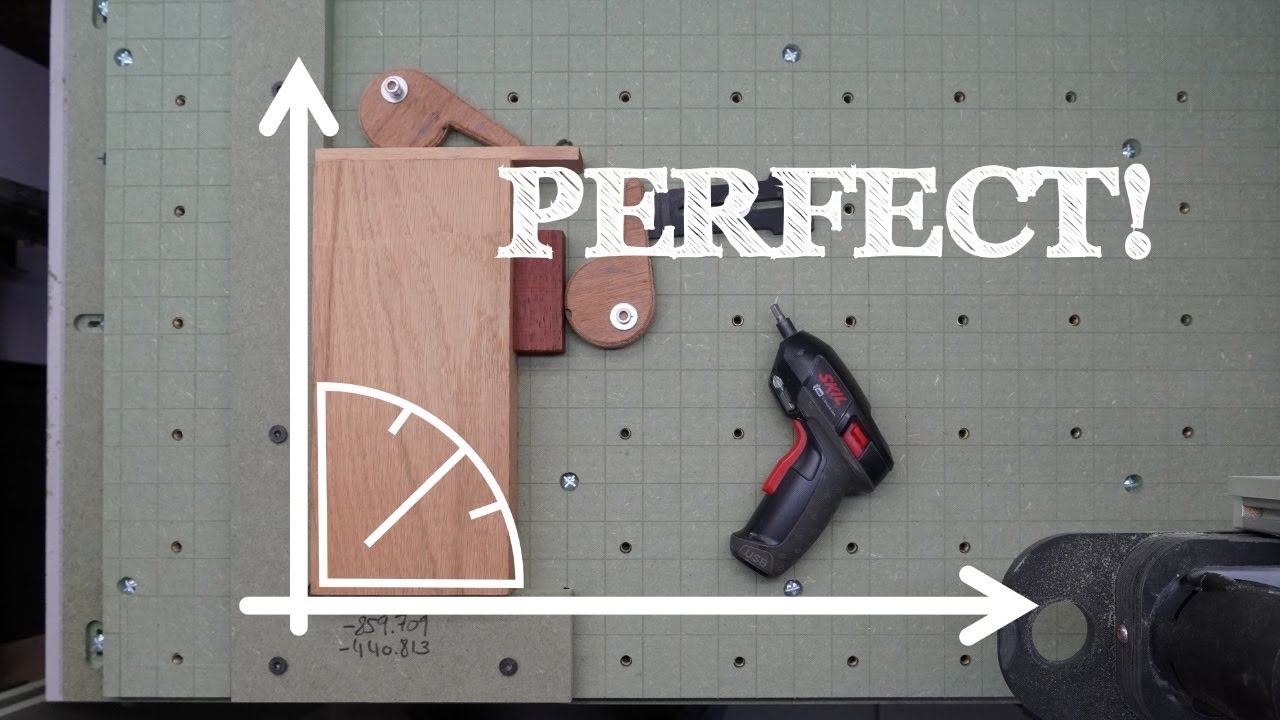
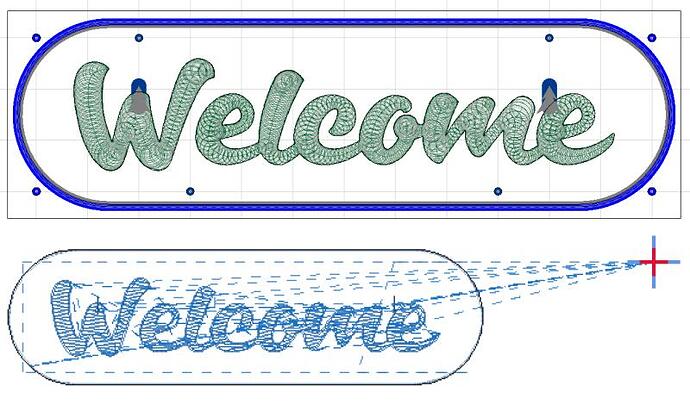
I can see how that could be useful for a machined off origin after a forced kill/restart, but is the whole recording and zeroing process any faster than the automatic 3 point corner probe and is the homing step even needed?
I am often starting my cuts in the middle of a workpiece, so the corner probe is not an option. Otherwise the probe is great and also works.
I also do most of my cuts from a centre start, I find it the most beneficial method for several reasons. For instance, cutting a keyhole, it is so simple to place it right on the mark instead of having to find out from a layout that often changes from one job to another, but if using the centre method, all can be the same (I made a macro to do it)
Also when setting up a sign panel, working from the centre I have found to be the easiest method to setup accurately and always get the job squared and positioned nicely.
This is might be interesting:
Didn’t get around doing it yet, but the idea is great and so easy to do.
Yes very interesting and easy to do.
I actually am using the same principle but machining directly into the waste board, but I like this idea better as it gives more support than mine which is just a ledge for the workpiece to fit against and only about 5mm high. I like his clamping method also.
I get that eyeballing and pencil marks work, that those origins can be restored and that probing isn’t always necessary or faster, but probing is always an option - e.g. the automatic corner probe plus the v12 center project on material option or the v11/12 circle/rectangle center origin probing options.
…I also center my projects, but my material and (circle center probed) offset origin/length sensor are centered on spoil or vacuum board grid points. The multipurpose grid points can be used for locating pins (no need for that square jig) and shoulder (VS tapered) or clamping screws. The any grid point offset origin makes two sided machining and tool changing easier.
Hello,
there are several options in Estlcam:
Hitting the “ESC” key will pause the CNC program and stop the spindle.
This function is always active - even if the controller window is in the background and your’re working in another program at that moment.
Big advantage: you don’t lose the position and can just resume.
You can also wire a push button to your electronics and configure the input it uses as start / stop input. Hitting this button will do the same and stop the program in a controlled manner.
But those 2 options are just software functions that may fail or be useless e.g. if a cable is cut open and puts the whole machine on high voltage. So having a real kill switch for real emergencies is always a good idea. There are many regulations regarding this in a commercial context - but for hobbyist purposes cutting the power to the machine will do the job just fine. The machine will keep running for a short while until the capacitors of the power supplies are depleted, but it is a simple and reliable catch all option.
And in those kinds of situations losing a workpiece is usually an acceptable outcome.
Remembering the last zero is something I’m working on and may add in a few days - so even this won’t be much of an issue anymore if the machine has limit switches and is propery homed before and after the crash.
Christian
Thanks for that info Christian. ![]()
This sounds really great, am looking forward to this. No more writing down absolute coordinates. ![]()
Hello,
Version 12.038 will now remember the last 5 workpiece origins that were used to start a CNC program.
So if there is a crash with step loss or a mishap like zeroing X or Y during a tool change you can just restart, home the machine and everything should be ready to go again.
But of course: position will deviate depending on limit switch precision.
Going back to the other 4 previous zero points can be done with the “Origin back” command in the command line.
Christian
I have a kill switch that has two functions in one operation, one function breaks and the other function makes, so I guess I could wire it up to activate the stop input and also break the connection to the motor power supply to stop the movement. That way I would have the program still running, but stopped or paused and the motors would be stationary until powered up again.

