Another table

Thanks for that analysis, Jeff. I think I get what you’re saying about the table collapsing from the people arrow direction. Basically, the 2x4s in the table would roll over from standing up to laying on their sides, like dominoes? That direction? Obviously just some small movement, not a total collapse, but that direction?

I do think the screws will have substantial holding power there, and the doubled up 2x4s will add leverage against that racking. I don’t know how much movement will happen before they resist it, or how much it will take to overcome it, though. As a table saw outfeed, I’ll probably appreciate extra rigidity wherever I can find it.

The big reason I didn’t move the long pieces up was that I didn’t want to go full on TB, and doing it this way would let me build the table from the floor up, one stick at a time. Moving just the sides up isn’t a bad idea, though, especially since i added the center leg. I’d like to have the extra room under the table, at any rate.

Another solution to the racking would be just a brace. A rectangle from the leg to the first doubled 2x4 that covers that pocket. One at each corner. That would stiffen the table up considerably, and i should do that for both directions. I built a few carts over the last couple months that way, it’s cheap and easy, and boy are they solid!

Also good point about doubling up plywood. Construction materials are coming down a bit out here, and I haven’t looked at plywood lately, just OSB (which I can get 7/16 for <$15 again!). The thickness isn’t critical so I don’t need to spring for the good stuff. I’ll have a look at the osb as well, actually. It’s not great in the flat direction, but to glue up and replace at least some of the 2x4 it would be adequate. Not stuff like the legs (which I’m sure plywood could handle easily) though. The long pieces will still have to be dimensional lumber, at 10ft long. Or maybe i could just laminate a beam with 8ft strips the center 6ft overlapping. Shoot, that would super strong with glue and pin nails, and i like ripping sheet way better than I like jointing construction lumber. I might also have to have a test on osb glued to plywood. One side of the osb is pretty smooth, so with enough glue and maybe some screws instead of pin nails it could save some money.

Thanks again, Jeff. I really appreciate your time.

3 Likes

Yeah. I see two boxes. The top box that is kind of like a torsion box, and a bottom box that is the legs. You can keep the bottom box from folding with a cross brace, but the torsion box design has that front panel (or back panel) for that reason.

Maybe bring the legs all the way up, and making sure the bottom box isn’t racking is enough.

I have a real tendency to overbuild stuff. So I don’t know how much you really need. I may be overthinking it. I was hoping the advice would lead you to needing less supports total, just more support in the right place.

Raising the legs all the way to the top and moving that front brace up into the torsion box is probably a good compromise.

2 Likes

Thoughts on something inbetween…

Top section is almost a torsion box, but front is open. Planning to make up for loss of rigidity by using dividers (intentionally 1/3rd in from either side) resting on a beefed up lower shelf.

2 Likes

The paulk work bench has these cubbies open. But there is still a sheet there. The areas cut out don’t do much, but the remaining corners are helping a lot:


Aza, your design still has that rail across the back and in the middle. That is really helping. I don’t think the dividers are going to be doing much. It would not be hard to test with and without them.

3 Likes

Yeah, as-is, I haven’t observed enough deflection making me want to add the lower shelf for the dividers to sit on. Haven’t accurately measured deflection caused while the LR3 is cutting, would be good to test. At rest the box seems flat enough based on my 4’ straight edge. In general, when possible, I’ll cut closer to X min and avoid the middle.

The corners are kinda closed, partially to help encapsulate the legs… The box rests (isn’t fastened) on the 2x4’s that insert into slots in bottom of the box (goal was to not let the 4 legs on uneven sloped garage cause the box to twist). Can shim/clamp if the box rocks.

2 Likes

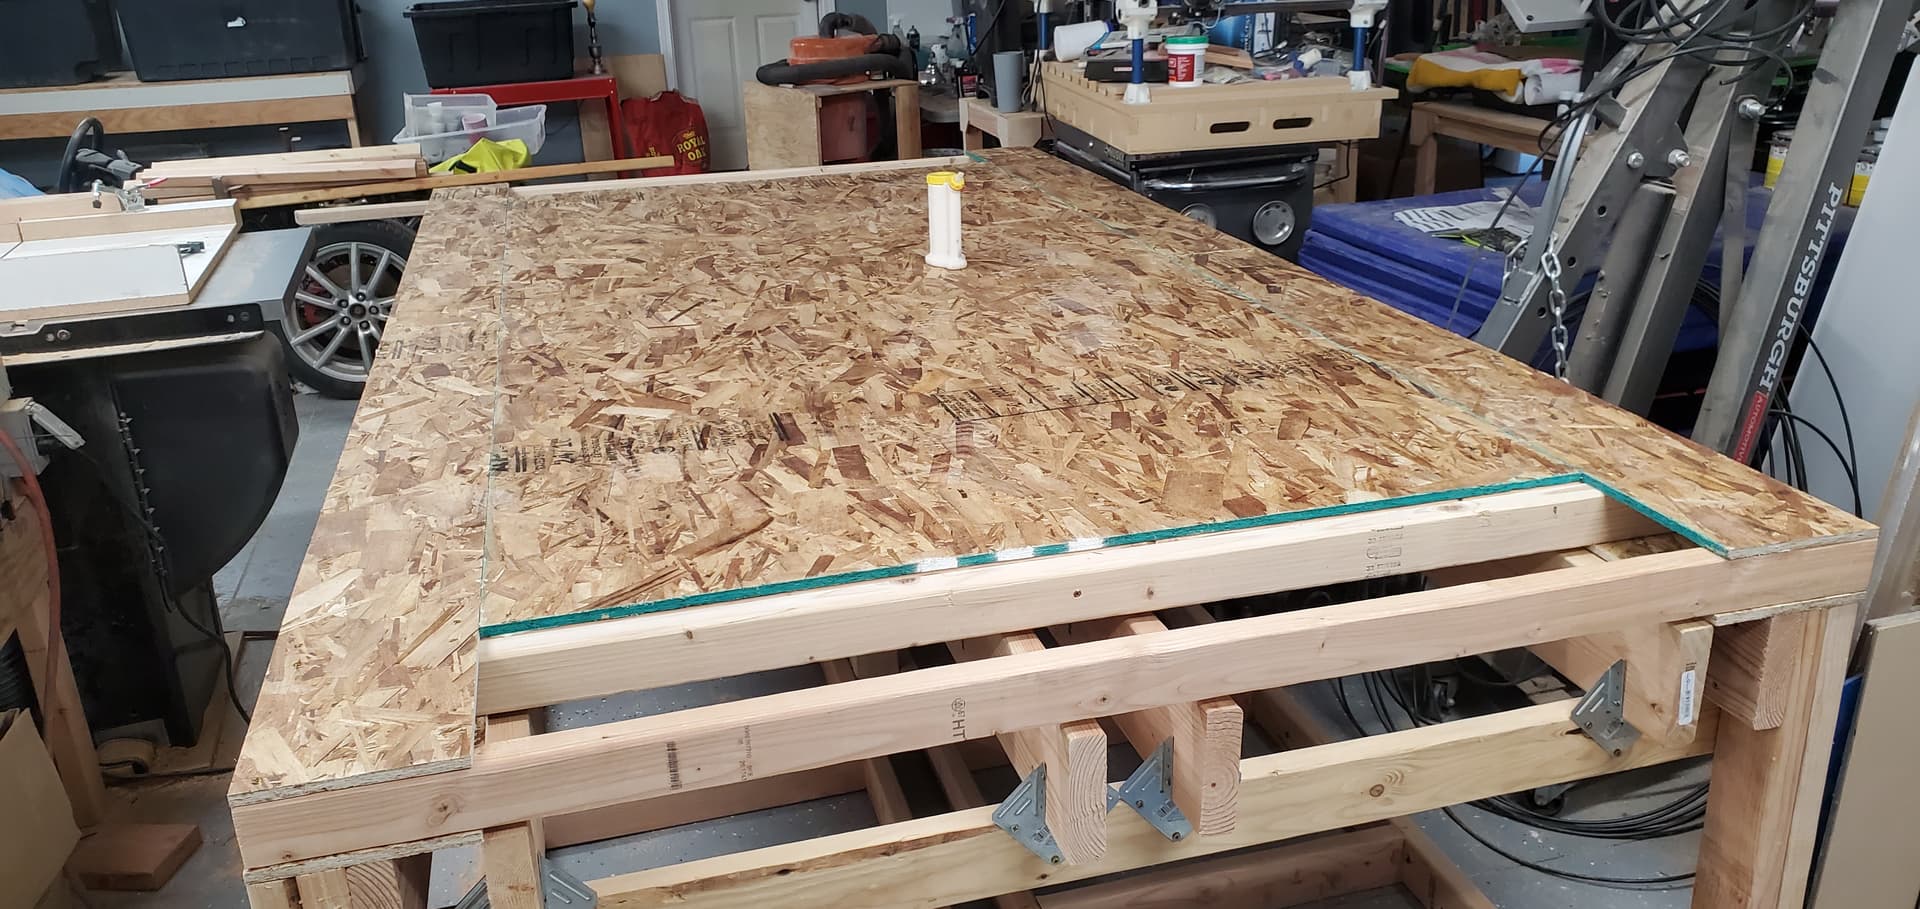
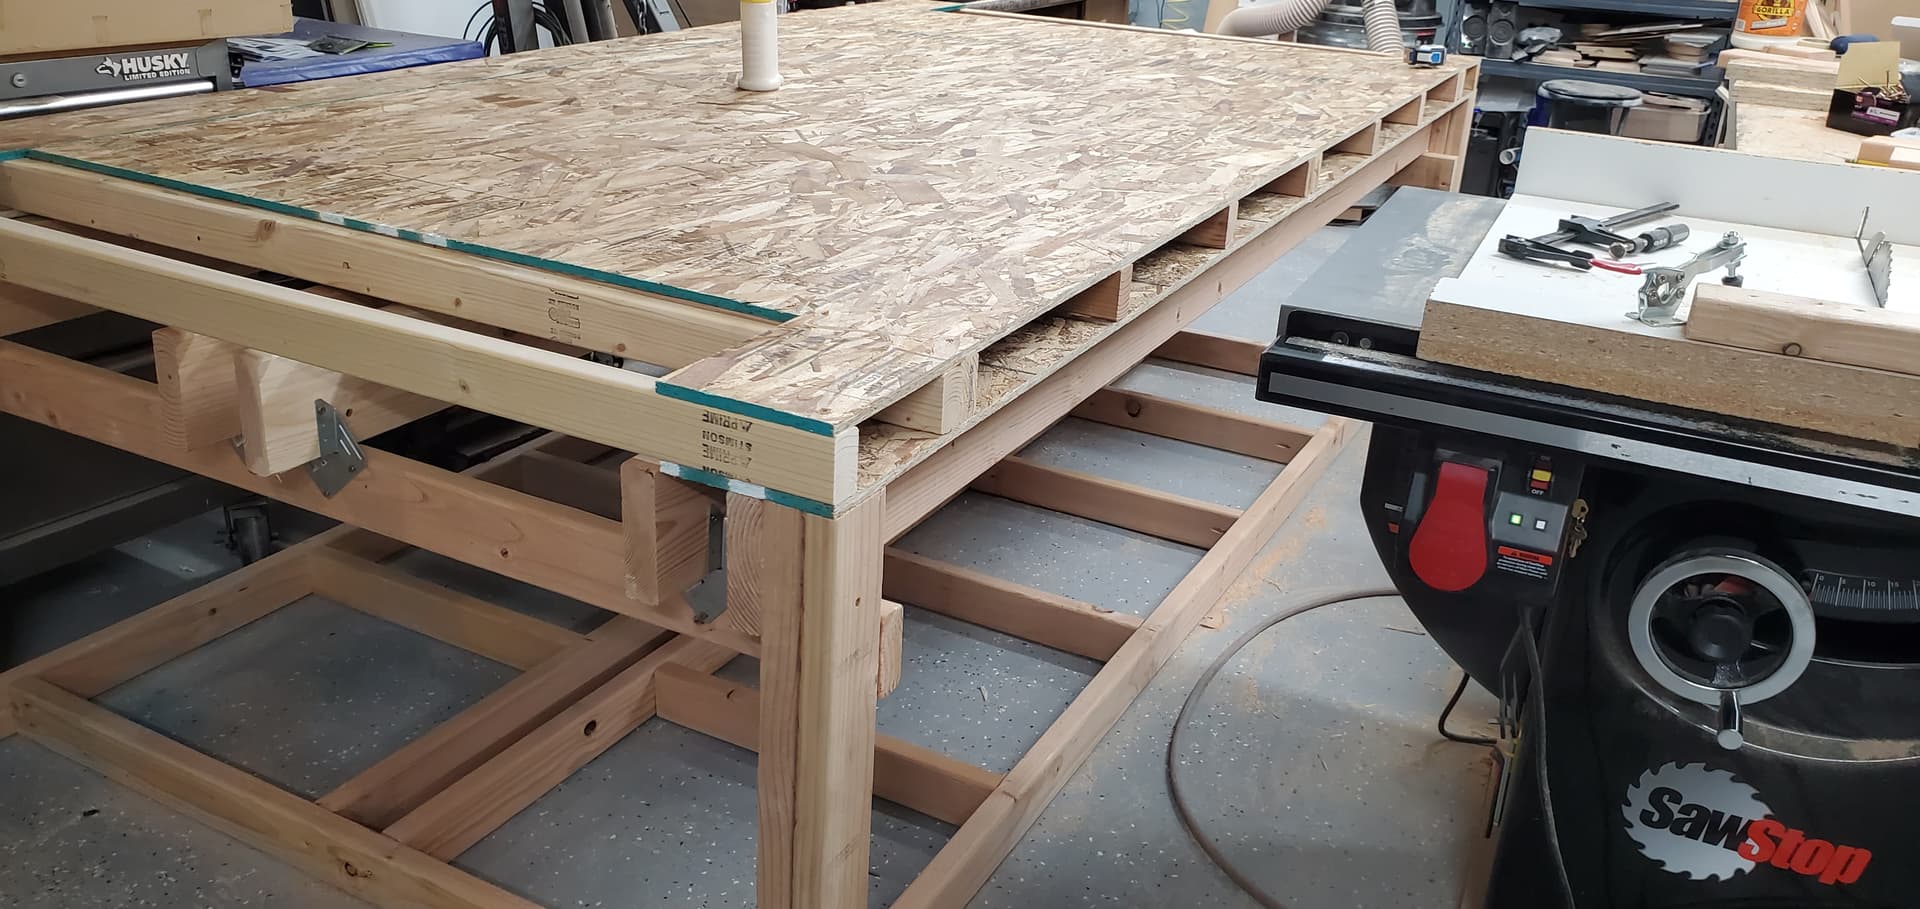
Finally finished something. I really liked the idea of making my own boards by laminating plywood, but it would have added more to the cost than I wanted to. Still turned out pretty good I think. Definitely adequate for everything I want to do.

The only racking turns out to be in the legs along the short side, but I REALLY have to push, like trying to move it, and even then it’s only a little bit. I can lean on it and not be gentle, and its solid. Easily the biggest and best worktable I’ve built, which really isn’t saying much…but it’s something.

In retrospect, I probably shouldn’t have glued down the top sheet, since that would have been a convenient spoilboard. Somewhere during the build I got the idea of throwing mdf on it like we’re used to, but it didn’t occur to me that it would get in the way of the tablesaw outfeed. Also would make using the table as a workbench pretty awkward. I’ll probably just remove the screws and cut down to the osb until it’s time to remove it, then I’ll make the LR cut it all down to the timber and drop in some mdf. That’s a good enough plan.


8 Likes

Let me run an idea past you, see if it floats:

Cut down to the OSB for now, so you can use it right away.

Once you need a better surface, cut into it, but not down to timber. instead cut down something like 6mm, and then cut a piece of 6mm MDF as a new spoilboard that sits in the insert.

In this case “something like 6mm” would be the actual thickness of the new spoilboard material.

Bonus points, don’t cut it entirely level. Pocket out a grid under the spoilboard for chips and debris.

Maybe you need a bit more than the nominal 6mm thickness, so maybe you go to 9mm or 12mm, but this should leave the top of your torsion box intact, and save some $$ on expendable spoilboard.

2 Likes

I should have done what you have done with the extension so you can cut vertically. Really neat.

1 Like

Maybe cut 3/4" off of each leg to be able to add a spoil board. Or maybe lift your table saw.

1 Like

Best thing I ever did. When I got my Grizzly a few years ago I put it up on 6x6. Man it’s so nice to not have to bend over anymore lol

1 Like

Only when picking up the soap.
:biting_lip:
:joy:

6mm is definitely cheeper than 1/2 in. I’ll have to think about that. Once it’s surfaced, it would be the same as having cut the timbers flat and surfaced, so as long as the osb doesn’t chew up it, you’re way should be better.

I’m only 5’6", sooo…

More a problem with the center being higher than the rest of the table. It’s not obvious from the pictures, but the table is 9 1/2ft x 5ft. That’s why I have the funny gaps at the ends.

1 Like

I may not actually be able to get that far with the router. I’m not sure. I got the table dimensions from the calculator for a 4x8, plus an extra inch. Maybe I’ll get mad one day that I can’t, but I’m not imagining needing to address the end of boards any time soon.
It just ended up that way because it was the easiest way I could think of to build it.

Surprisingly difficult (for me) to design a table larger than a full sheet that isn’t a full on torsion box, is rigid, not 800 pounds, and hits my budget of $200.

I only found one table on YouTube larger than 4x8, and it was basically two torsion boxes torsion-boxed together. And they cut the parts out on a full sheet cnc, I think.

2 Likes

I know what you mean on building a larger that 4x8 lol
So many ways you can go about it. And either way you do it’s going to cost a bit haha nice table man I am jelly

3 Likes

6’ 2" here. And my dad is 6’ 7" so Im already used to doing everything higher lol

1 Like

Got my first drawer in.

5 Likes

Looks like a perfect place to hide all those 10mm sockets!!! Inconspicuous! bahaha

Lol, might have to go buy a few hundred now.

1 Like

Never take your eyes off the 10mm!

3 Likes

Fer reals!!!