My wife has decided that I should just make signs for her to hang on our wall so the last few weeks, in addition to dealing with being sick and a sick kid and a rough work schedule, this is what I’ve done.
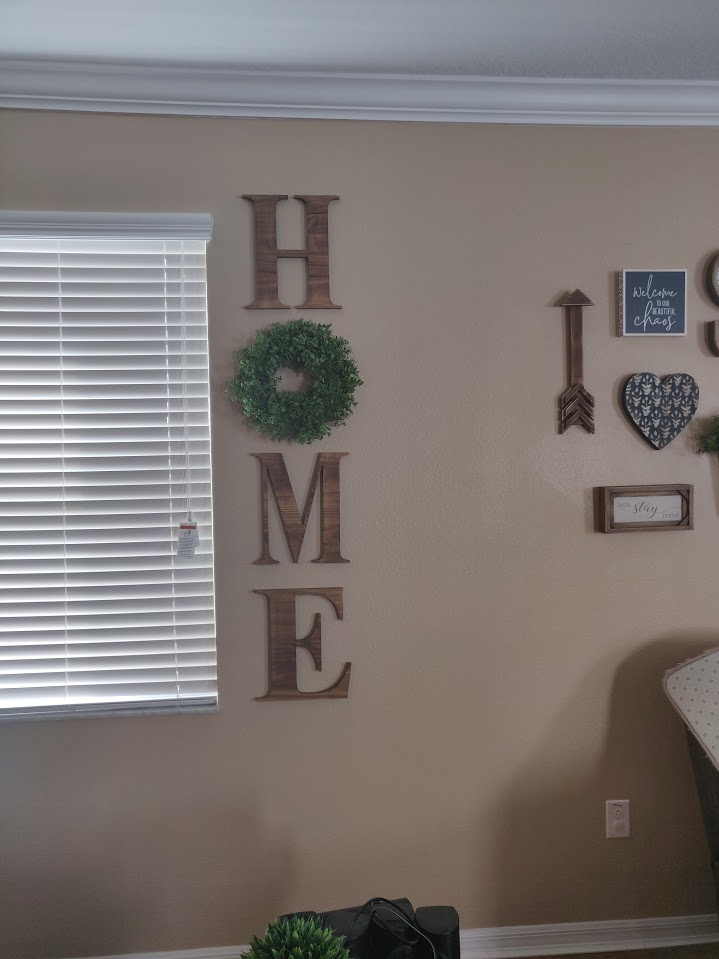
First she wanted a “HOME” sign. Pretty simple to just make up some big letters using “times new roman” font (then convert to path and resize so that they fit in the parameters provided by my wife):
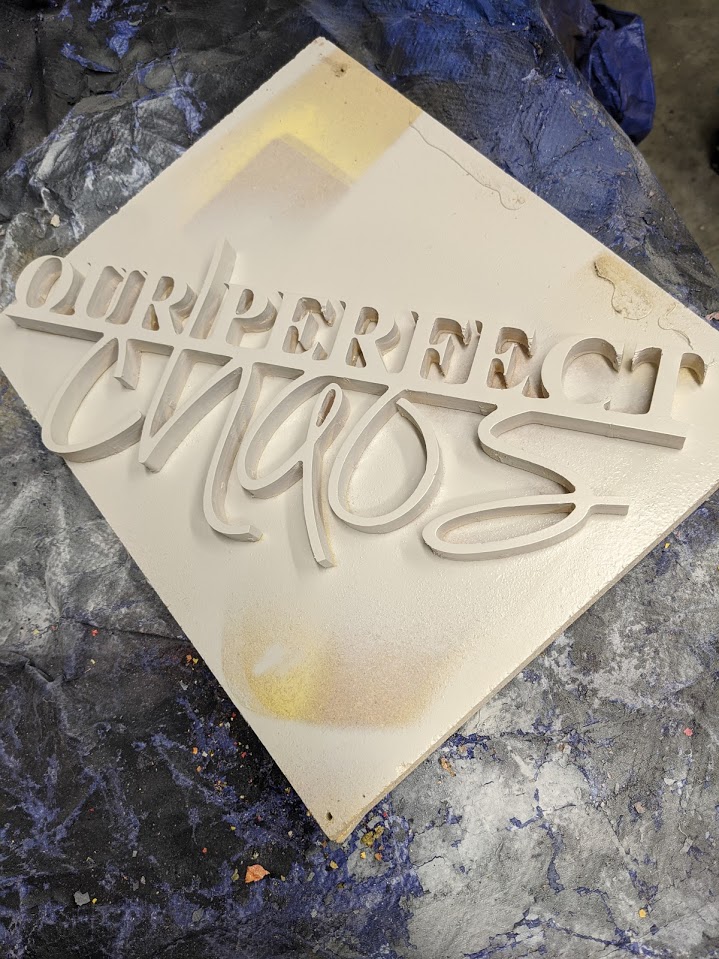
Next, she wanted an “Our Perfect Chaos” sign. First she dug through the thousands of fonts on my laptop (I also have a dedicated vinyl cutter so I’ve got software/fonts for that already) and found the fonts she wanted and then I put them together for her and cut that out. That got painted:
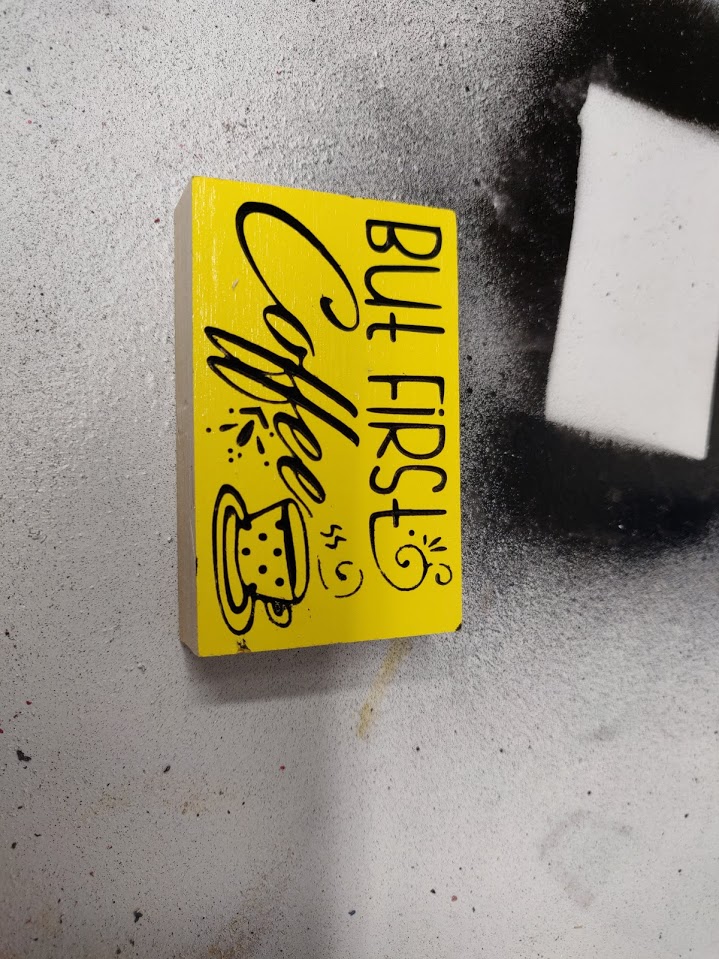
And then yesterday I decided to test a method for painting a carve. I first painted this scrap piece of wood yellow (I didn’t have white when I first decided to try this) and let that dry completely, I then covered with blue painters tape (I’m sure there are better products out there) and ran it through the program. Once finished I sanded the sides and blue taped them was well (I didn’t want the sides black, but that was just a design choice) and then I hit it with black spray paint. Let the black paint dry (mostly) and then peel the blue tape off everything. I think it worked out pretty OK.
I might just pickup a couple of sheets of oramask and test it side by side with the transfer tape I have and also with shelf liner. OraMask seems significantly more expensive than even the transfer tape and somehow I believe that the transfer tape will be sufficient to do this type of work. OraMask is designed to be cut then transferred, which probably makes it more resilient than it needs to be for this application.
Either way, I’ll try to give it a side by side test on my cutter with the other 2 both with and without the shellac and see which comes out best and which comes out suitable for my expectations.
If I’m feeling especially ambitious, I’ll even try to film and post the video with the results.
Yeah I think it all depends on the level of tack you buy. When I first started with vinyl I got high tack for my first project and I spent the first hour trying to put a small vinyl decal on something just cursing the thing out. It wasa learning experience for sure. What I have now is medium tack so using it in a test isn’t going to be a big deal.
We’d use regular masking tape for putting decals on the jet. First we’d stick the tape to our tshirt, then the vinyl decals. Kills off most of the tape tack, but still gives it enough to peel off the backing.
I used a 1/8" 2 flute end mill running at 15mm/s. It’s cut out of a pine board, specifically this board. I created the sign in Silhouette Studio - Business Edition (I don’t think the free version allows you to export SVG’s) but really anything that will allow you to create a text box and export as SVG will work (Inkscape will do that).
I realize the I can search around, but I am curious to exact brand. I bought some on amazon a while ago and they seem super crappy. So my followup question are…
Sure, no bother at all. The end mills I bought off Amazon. They were pretty cheap. I’m pretty sure they are these, which are 22mm, but they might be the 17mm version of the same exact end mill from the same brand. I bought both and I can’t remember which I used for these, but guessing I cut just over 17mm I’m going to guess it was the 22mm one.
Yes, they are upcut bits.
I run a depth of cut of 3.18 mm. Really, from what I understand, I should set the DOC to a divisor of the total DOC so that every step down is the same, but my last cut is usually a little of 1mm as the board thickness (and my total DOC) is 17.1 mm
Don’t feel like you’re being a bother, I really don’t mind answering questions. Sometimes it takes me a few hours to a few days, but I’m happy to help.